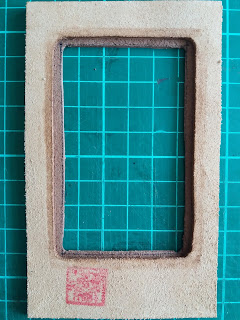
Try another ID tag project, this round use a thicker leather and cut a hole for ID tag to sit inside.
The idea of this concept was to allow the ID tag to fit and sit in this position.
Use an ID badge to cut this hole on a leather piece of size 12.5 cm x 7.5 cm.
Use a fixture (bamboo chop stick) to hold the soft edge part of project to burnish the edge of ID tag hole .
Attach a softer leather material in front.
Note have place an aluminum sheet when perform guling process. So that the gule does not spread on cutting matt surface.
Cut the center part base on line drawn. ensure the cutting knife is sharp to get clean cut edge.
Cut center part off.
Use an ID badge to confirm it sit and fit on this ID badge.
View of cut off for the ID card to sit in.
Show the front layer (top) to middle layer (bottom)
Position the rear pocket relative to the ID card
template
Rear view, add a pocket behind badge tag.
View of the badge front.
This is to show how stitching the ID tag
Update on 3rd Dec 2018.
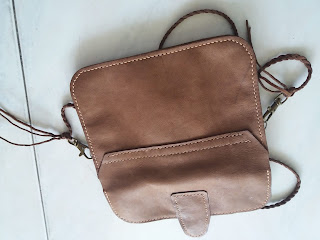
End product for badge tag or ID and holder with added hook.
The hook is attached to a more rigid layer (rear layer) and give it added support.
= = = = = = End of Document = = = = = =


