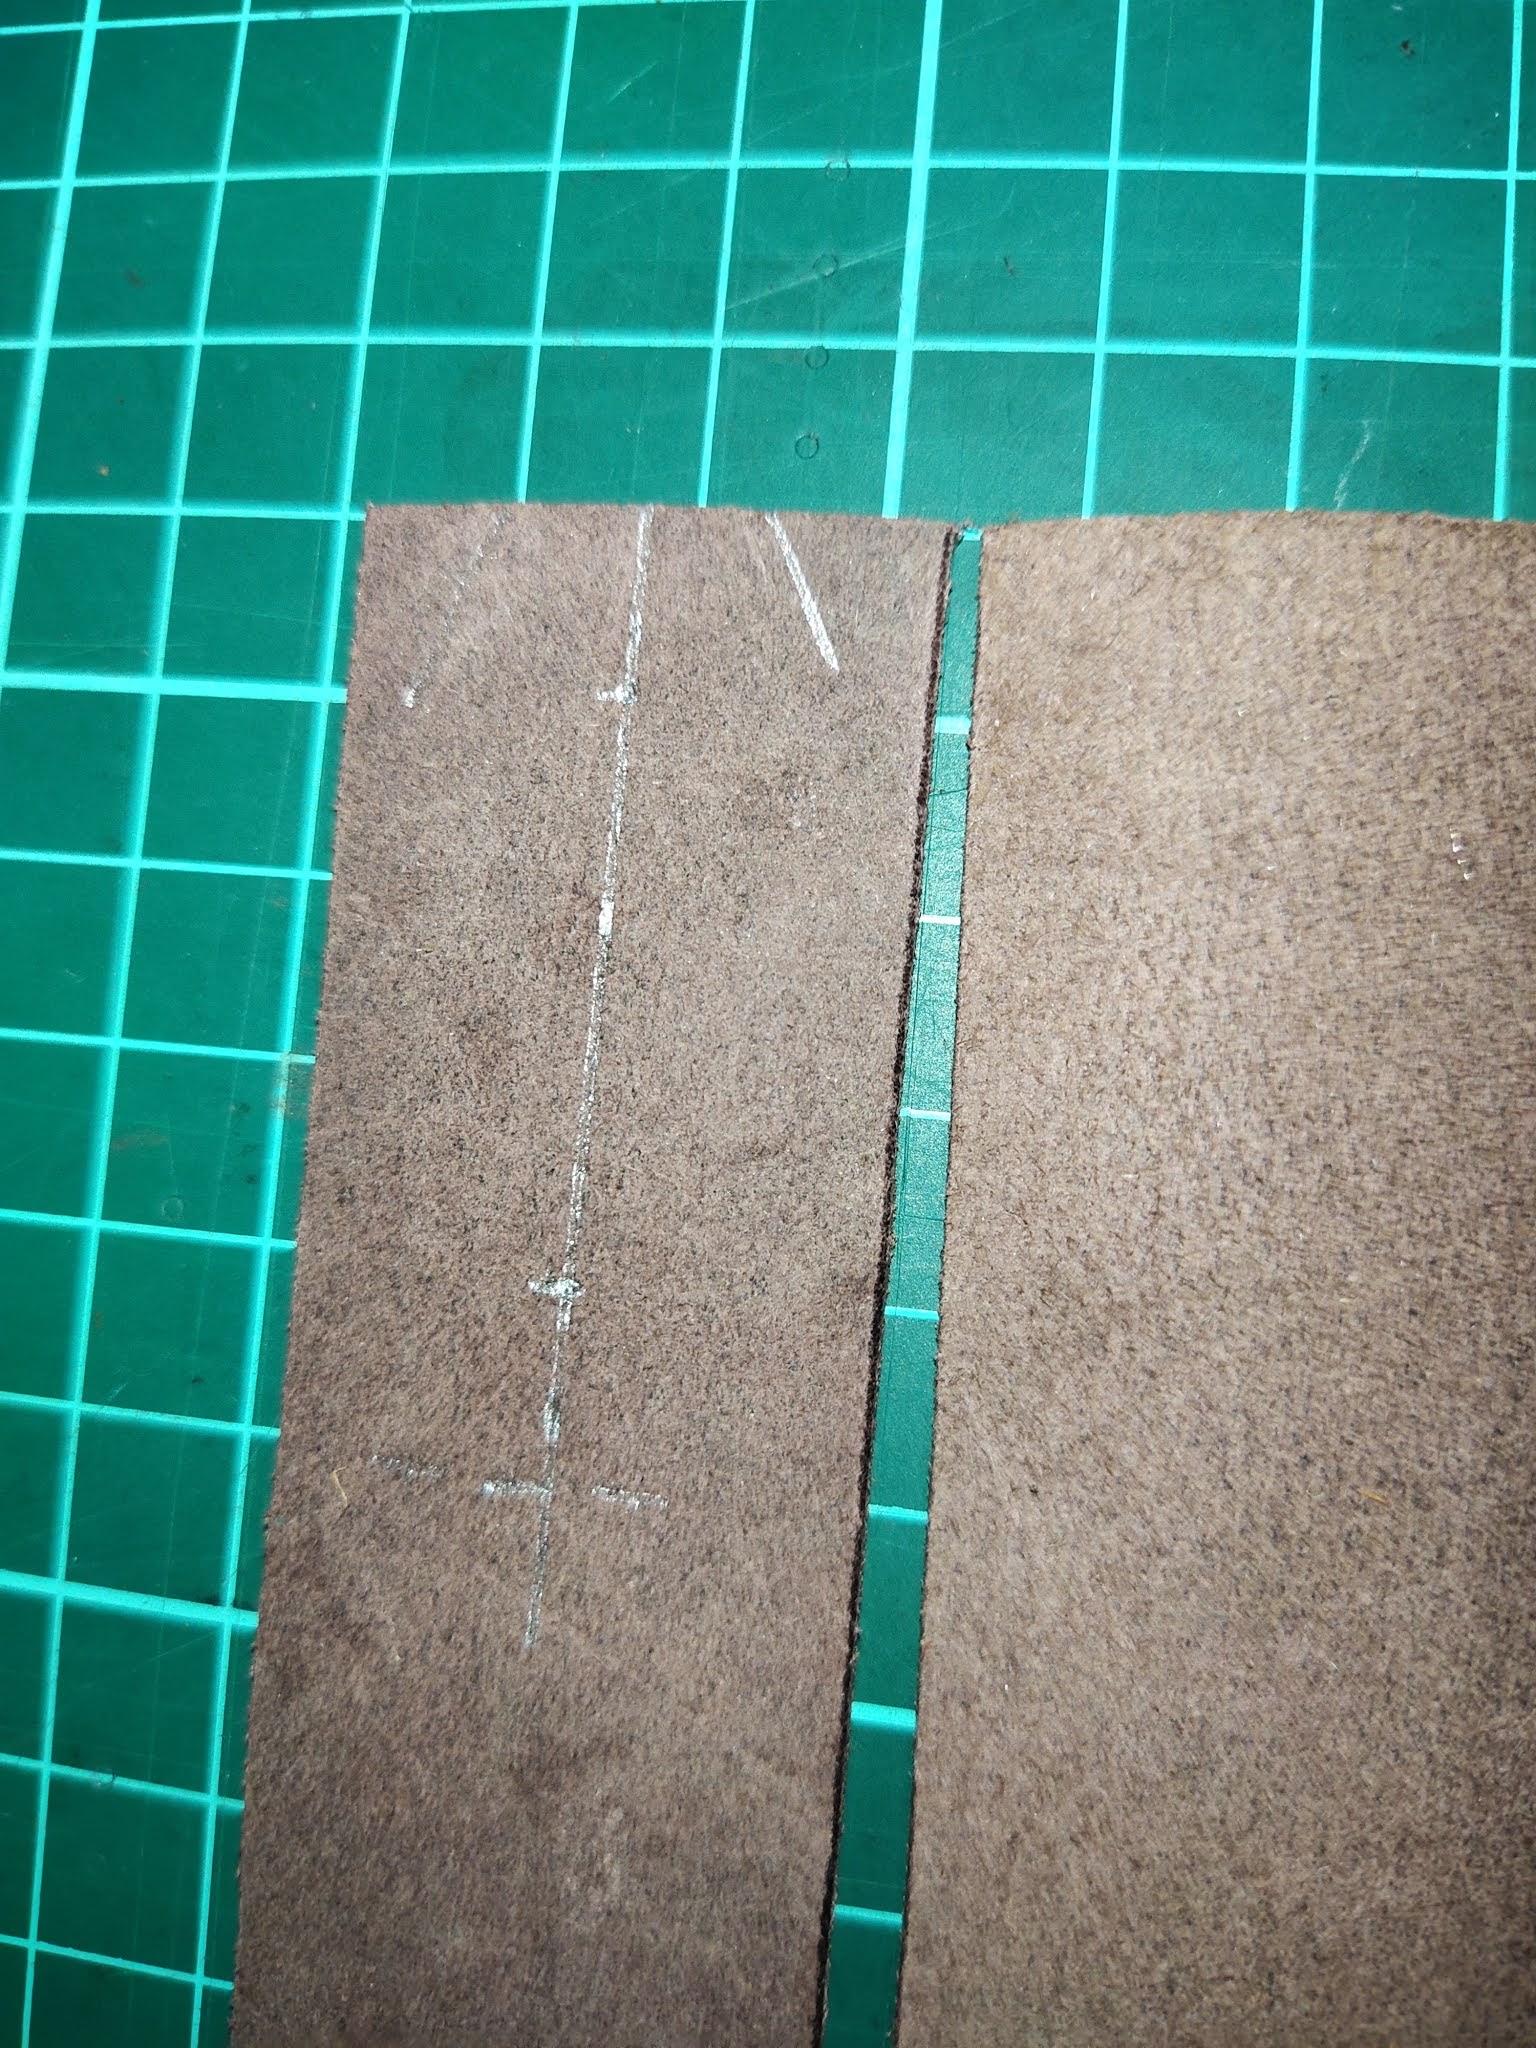
Drawing done for bag.
Select material and some of tools for making base layer.
note :- two round item is weigh for holding the leather while cutting or making measurement. it is make of cement material.
close up view. the hard interface board is added to give support. In this case the board is about 2 mm thickness.
This is sandwich in between both (bottom and top) leathers.
= = = = = = = = = = = = = =
This is the inner layer for bottom, a lining leather material.
Shown is basic tools to marking, cutting and glue.
There is about 1 cm seam allowance.
Bottom view of bag with marking in preparation for stitching
Stitching both leather together with interface board in between.
Stitching in progress.
The top edge is folded and stitching done.
Note:- temporary use thread to hold the side together so to make stitching easier.
It is prefer to start stitching at the top and move forward in that direction.
Recommend to start a few punch hole and move toward the edge and return stitch toward the bottom.
= = = = = = = = = = = = = = = = 😃 👴 = = = = = = = = = =
Use stitching pony to hold project.
Tips:- As the leather is soft do take note in handling and when stitching it is not recommend to pull thread too tight.
Adjust your thread tension base on leather material properties and thickness.
Notice if tension is too tight the leather stitch will cause uneven stitch pattern.
= = = = = = = = = = stitching issue = = = = =
These are common issue when doing saddle stitching where the needle piece the thread during stitching process.
The thread on the right side when pull away the issue will be visible. If this issue is not corrected or rectify then it will be apparent the stitch will NOT allow proper stitching to proceed.
The thread will get entangle and more difficult to continue.
There are few factors which will result in this issue.
1. In correct needle size use, as the correct needle tips are rounded.
2. The punch hole size does not match with needle and thread size.
3. Stitching technique also play it part.
4. Incorrect punch hole and needle size and thread size mismatch.
5. Punch hole in consistent where the punch did not punch tip is not piece.
This problem can resolve by pulling the thread away from needle tip.
Another view where the needle have piece the opposite thread.
It best to resolve by pulling the needle in reserve direction or pull the thread forward.
Another technique is to pull the needle away or reverse the needle position.
It is important this step is taken to avoid the entanglement of the thread during saddle stitching.
= = = = = = = = = = = = = = = = =
This way to terminate the stitching. Stitch flow towards bottom and backward stitching, cut thread sufficient to melt with lighter.
Trim off the thread and use lighter on the tips of thread.
= = = = = = = = = = = = = = = = 😃 👴 = = = = = = = = = =
Position the leather in preparation to sew the bottom to side.
Verify the two piece location where to punch hole
Use clips hold two edge in position
Once confirm position can proceed with punch hole. This will ensure proper alignment between two layer.
= = = = = = = = = = = = = = = = 😃 fabricate strap handle 👴 = = = = = = = = = =
Cut long handle strap, width is 3 cm and length is 61 cm.
Cutting handle strap
Use edge beveler tool to round off the rough edge on all side.
After this burnishing action.
Copper rivet , washer and rivet setter tool, round punch.
Add a leather spacer washer to cushion copper washer.
Note:- use a round hole punch and match with rivet to confirm size of round hole punch.
Marking position for round punch.
Use clip to hold and align two piece .
Both handle strap marking for punch hole. The small piece is for mounting a VL button.
Copper rivet preparation
Measure original rivet is about 14 mm.
Cut rivet to required length after measure thickness on leather stack together.
To estimate the rivet length required ,you and use a external clipper or the thickness gage.
File rivet head to allow copper washer to fit.