Showing posts with label LeatherMan Sheath #1. Show all posts

LeatherMan multi function Sheath #2 Part Three - レザーマン 多機能シース #2 パート 3 - - LeatherMan 多功能护套 #2 第三部分

LeatherMan multi function Sheath #2 Part Three
レザーマン 多機能シース #2 パート 3
LeatherMan 多功能护套 #2 第三部分


This part three is about making the belt holder to attached Leatherman sheath to belt. The original design have some short coming, if you sit down the sheath cannot move freely base on the design. このパート 3 では、レザーマン シースをベルトに取り付けるためのベルト ホルダーの作成について説明します。元の設計にはいくつかの欠点があり、座るとシースが設計上自由に動かなくなります。
第三部分是关于制作皮带固定器,将 Leatherman 护套固定到皮带上。原始设计有一些缺点,如果你坐下,护套就不能根据设计自由移动。


However this sheath have a round pad attached to main body. It allow the whole sheath to move with it intention to allow free movement when user stand or sit or other posture position as it does not restrict it movement. しかし、このシースには本体に丸いパッドが付いています。これにより、シース全体が動きを制限せず、ユーザーが立ったり座ったり、その他の姿勢を取ったりするときに自由に動くことができるように意図して動きます。
但是,这款护套在主体上附有一个圆形垫。它允许整个护套随之移动,目的是让用户在站立、坐着或其他姿势时自由移动,因为它不会限制其移动。


*Note:- Velcro surface have the softer part attached to the belt portion. While the rough Velcro side are attached to the round pad.


Allow the glue to be cure before stick and ensure better adhesion between two layer.


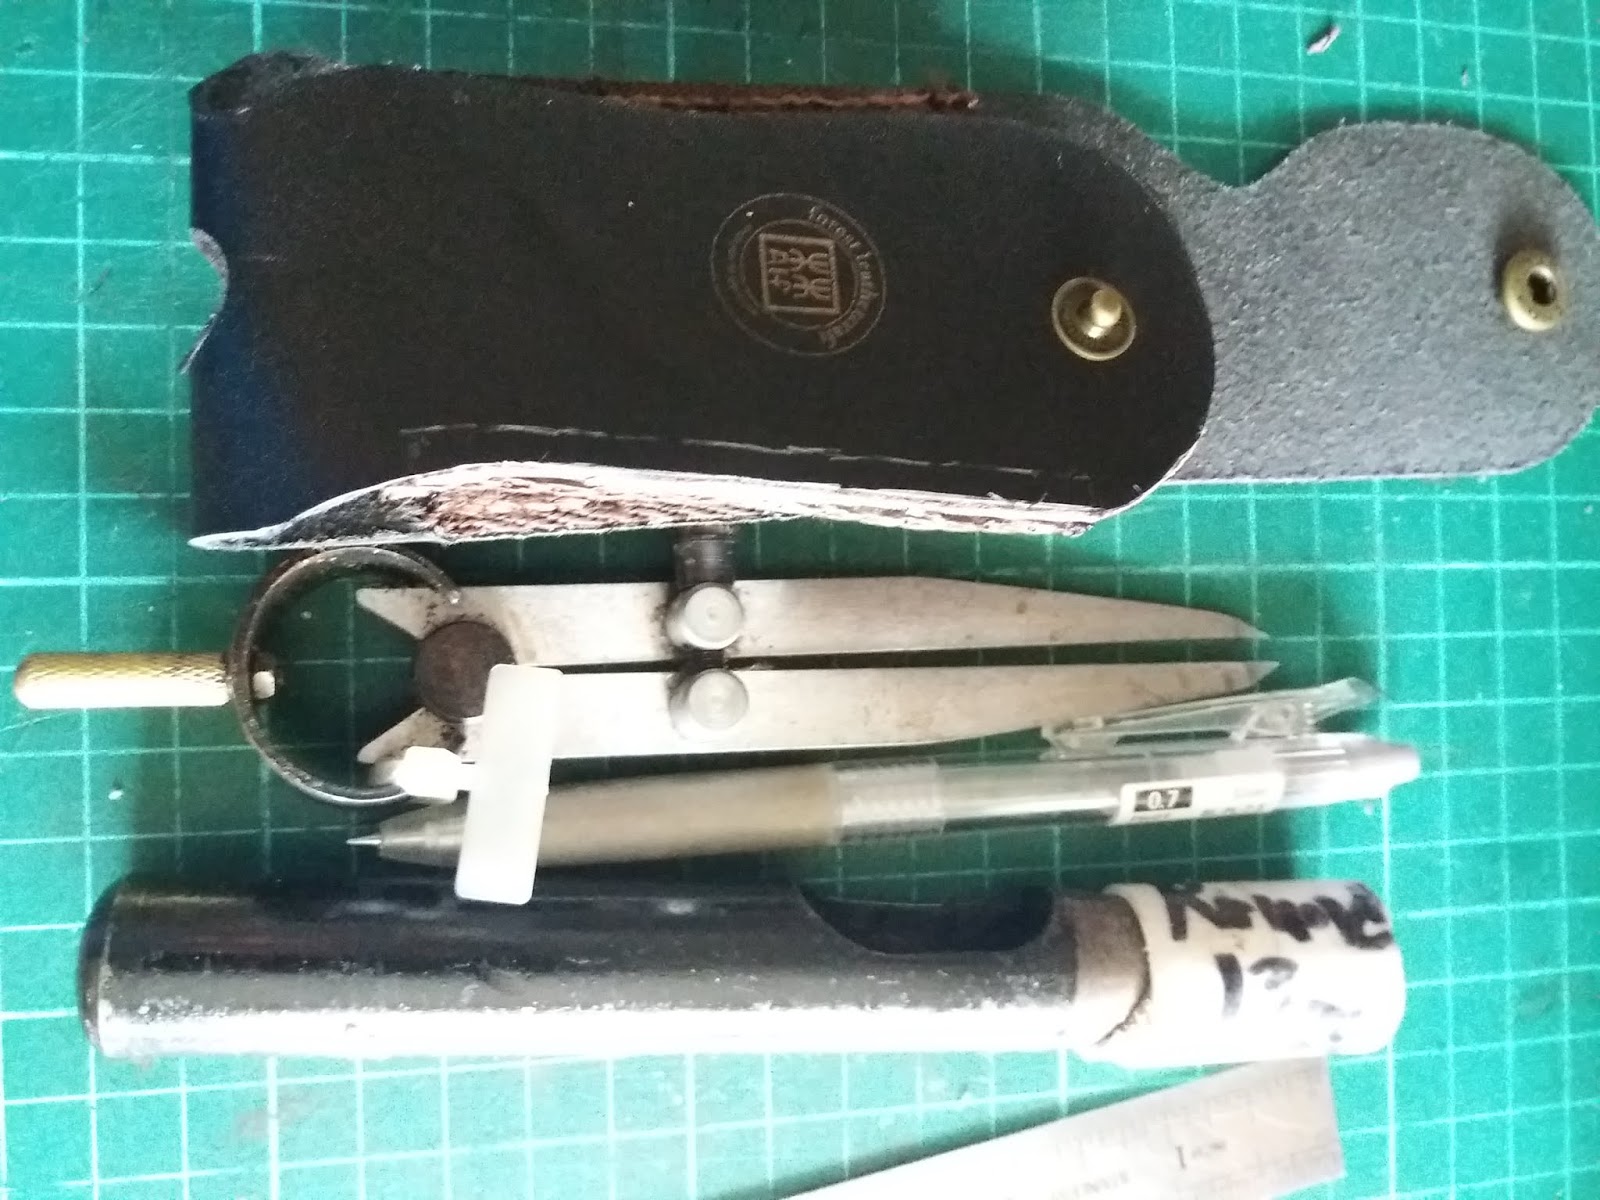
Some of the tools used for this project.


Stitch one part of the side

Punch hole for tight edge, try use a wooden block (height depend on project) to raise for better position when do punching hole.
How to punch the leather and Velcro for the round pad


The leatherman sheath is on the right side


= = = = = = = = = =  other part of belt holder = = = = = =


Some of the tools for this project, the belt holder
needs these tools to punch a 7 mm hole on either side and straight edge cutter


It help is the line drawn to aid punch hole and cut a straight line.
The slot cut off is to match 40 mm belt .

The real challenge is how to cut a straight cut to match the round hole?


Update 14th August 2020

Feedback recently from user, is this design the sheath mounted with Velcro is not secure. 
Hence need to have a different design to suit this case

          End of document  👴

LeatherMan multi function Sheath #2 Part Two

           LeatherMan multi function Sheath #2 Part Two

 Sharing the step to make Leather man sheath.


Apply glue on both leather layer. Allow sufficient time for glue to settle before attached both  layers.

This way to use roller to better glue adhesion between two layer .


Marking edge line with tool before punch hole

This is how to punch hole before stitching after glue harden.

Way to hold punch hole tools.

How the draw line at edge make it easier to for alignment and correct place with punch.
For this case use a wooden block to raise the level so it is easier to punch the edge


Prepare for adding a round layer to which Velcro is attached.
The purpose of rivet is to allow the sheath to move around.

Once rivet is complete attached Velcro (rough side of Velcro)

This is how glue is apply to both layer
This to show sone of the tools required to use.

This is how the stitching pony tool to help in stitching.

Another view of the stitching pony


                      End of Document 👴

LeatherMan multi function Sheath #2 Part One

LeatherMan multi function Sheath #2 Part One

This design follow the original leatherman WAVE sheath concept but add improvement on way to attached to belt.

 Sharing some of tools for this project.

Note: inner lining with one using wood shaving  (top) and another just plain leather (see bottom).

New design to attached to user belt, the two slot is to allow the user belt to slide thru. Hence the slot is design for different belt width., in this case is for 35-40 mm belt width.

Use Velcro to attach sheath to belt.
You will notice the velcro is of the smoother surface, so as not to cause hand or finger rub against it.

Draw line to cut slot and for mount Velcro part and prepare to guide punch hole and straight line to create slot hole.


Use two different materail to line the inner parts

Use a round leather to cover the rear of button

Stitching Velcro part to sheath


Stitch side pad of elastic band to leather layer.


                                             End of document 👴👳👷👶

LeatherMan Sheath #1


Leatherman tool sheath #1

         This is a friend request for Leatherman sheath, from Johor Bahru who own a leatherman Wave multi tool product.
The original sheath was worn off as it is non leather type.
His request the sheath have belt clip or way to attach to a belt.

Cut material to size

Gule side strip

Draw line for punching hole

Punch button hole

Add belt strap on rear


Work in process .. please come back for more update


For the belt strap have added another layer for better protect belt from the rough surface.

  Update on project 23rd Dec 2018    👀

Continue with project.

Use needle and awl to align the punch
position

One side use thread to hold the side layer
while stitching other side.

Apply glue to edge
before start stitching


Vertical stitching method

Beginning of stitch

side by side with sketch on project

More to come with update and some tips.. ✋

Tool and material for proejct

Add button first

Overall length of project 26  cm,
marker point for belt point at 18  cm


More update coming this way . .🚶 and stay tune.💤

Update on 26th Dec 2018


Finish project. 🔧

Veg tan leather

Another veg tan project


   (15th April 2019)  Update and feedback from user.
The belt holder is better to be higher toward the flap by about 3 cm. This will allow the sheath curve up when user sit down.


👴 End of document 👴


Year 2024 HAPPY Winter Solstice

 Year 2024 HAPPY Winter Solstice * Note: This is trail use of "Google Translate" application from ENGLISH to JAPANESE, sorry if th...