Past post on Hard Disk Drive pouch are as follows:-
1) HDD carrying pouch #5 (post on 12th Nov 2018)
2) HDD carrying pouch #4 (post
on 09th Nov 2018)
3) HDD carrying pouch #3 (post on 12th Oct 2018)
4) HDD carrying pouch #2 (post on 05th Oct 2018)
Try changes the design where the HDD (Western Digital model MY PASSPORT) .
Changes instead of side way insert the HDD into pouch, top down .
The cable pouch is attached on the rear of HDD pouch and use the unique leather edge for closing.
 Added a tools list for beginner to view.
item 1 steel ruler 24 inch
item 2 plastic mallet
item 3 burnishing gum (TOKONOLE)
item 4 glue
item 5 round hole punch
item 6 Number size 3 awl
item 7 thickness gage
item 8 white marker pen
item 9 blue maker pen
item 10 Spatula slant edge
item 11 screwdriver
item 12 Spatula straight edge
item 13 steel ruler 6 inch
item 14 thread sniper
item 15 cutter
item 16 Thread cutter
item 17 4 mm punch set
item 18 4 mm punch set
item 19 lighter
item 20 Needle pad
item 21 Die set for VT5 button

item 23 and 24 part of punch set 4 mm spacing
item 25 compass
item 26 edge beveler 2mm


Make measurement on leather materials to see it fit project.

item 27 a) Skiver machine b) set of roller of different width
item 28) wooden burnisher
item 29) Hand press for button and VT5 die set item #21 (refer to top photo)
item 30 various type and size paper clips

Note:; create weigh by using old water tap and attached to plywood. Useful to hold big piece leather when cutting.
 Tools use to mark and cut project leather to size.

Marking with pen and rules
 cut strip for the edge
 Cut two side strip to be stitch later.
 Add a small strip of harden cloth for the HDD

Stitch one side of strip, so to position the strip in position
 Use clip to hold them in place before punch hole.


It better to attached for one side first.
 Use the unique edge shape as part of the cable interface pouch.

Note this not a final stitching thread on pouch but to hold project, side strip in place and position to verify.
 Use a scrap leather for skiver machine to ensure correct required thickness.

The scrap leather is the triangle is to verify correct thickness.

Do take note I have use some thread to hold in place the side strip (see the bottom stitch thread is to hold in place.

This to allow the rear pouch layer to be punch hole to assemble.

Skiver machine is use to remove about 3 mm thickness on three side of edge to do stitching.
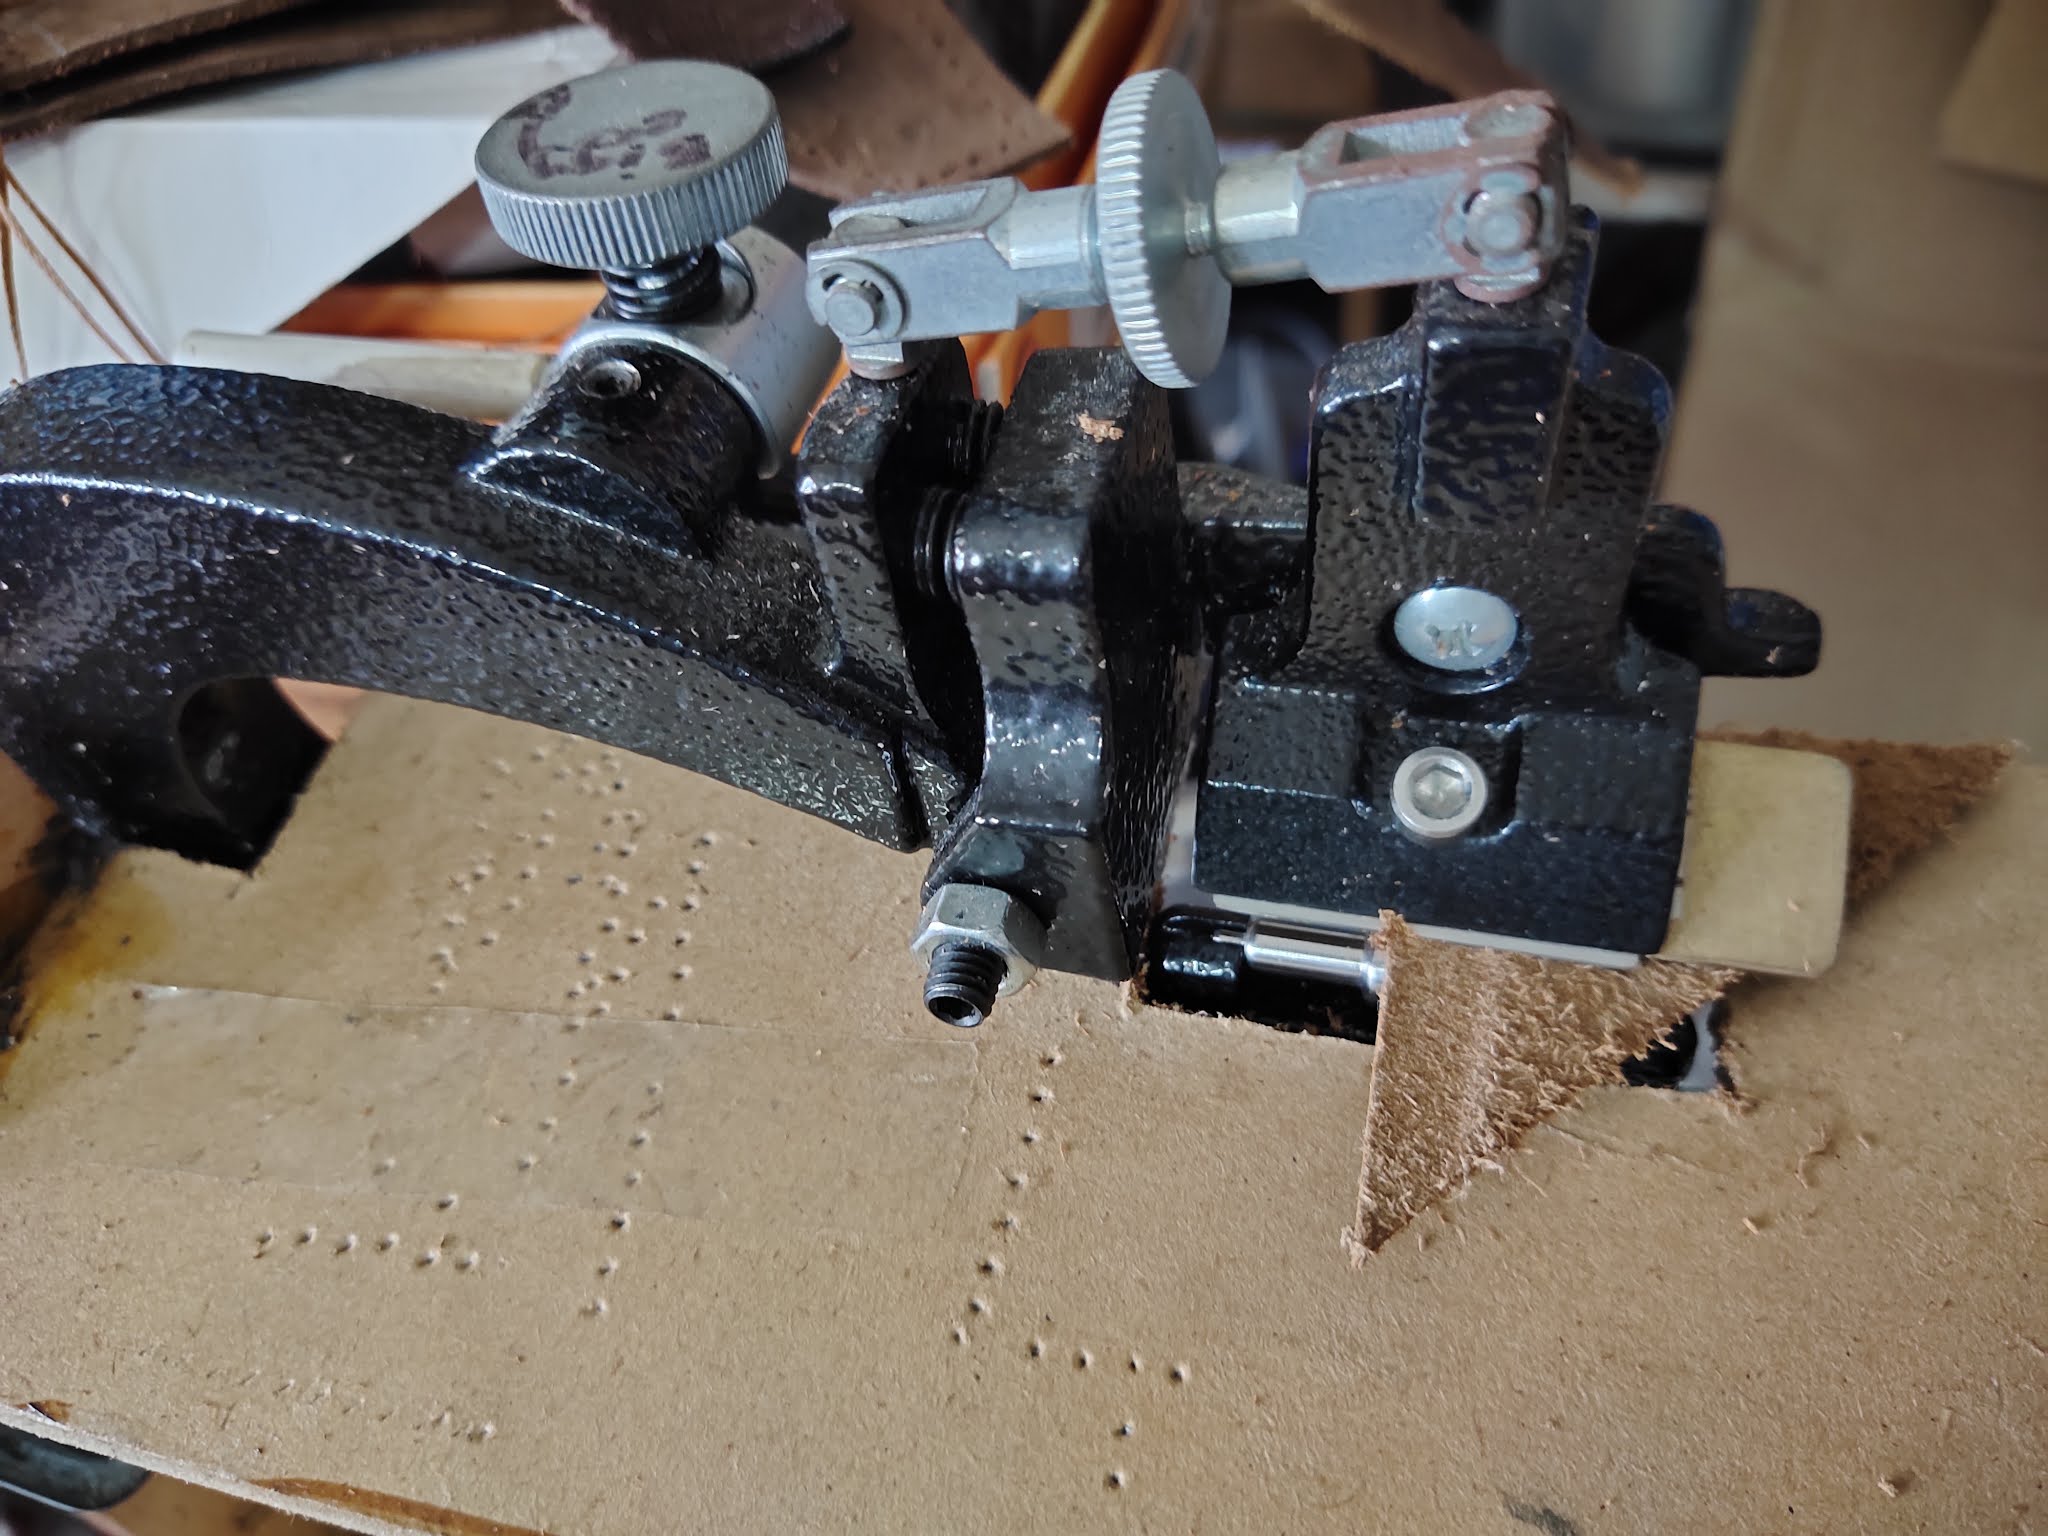
Tips:; before skive the edge use a scrap leather to check and set correct thickness to shave off.
Tips:- At time after skiving the thickness might require a sharp blade to trim thickness on edge.
 Use cable interface to see it can fit in.

 Tools use for this work.

This how the bottom part of cable pouch are stitch.

Method to stitch the edge of side layer.

How the cable is store


 Overall view of inside of pouch


Add button for cable pouch.


= = = = = = = = End of document 👴 = = = = = = = =


