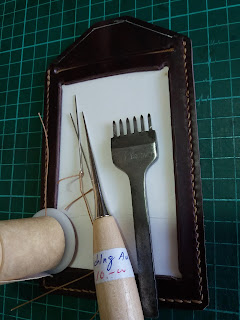
Experiment with sheep's leather for badge ID tag, it very smooth and soft. 👀
This characteristic of sheep skin pose new challenges when cutting, punch hole, marking point, it moves when these action is taken.
There is two sheep leather (PEARL white, top left) and (DARK blue, bottom right).
Put both leather side by side to see it can colour between different layer.
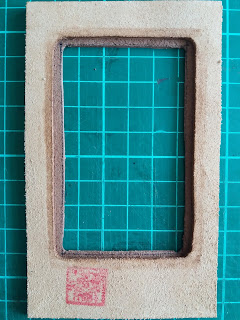
For the start the front layer for badge ID is Sheep (PEARL white) and center layer is buffalo leather and rear layer Sheep (PEARL white).
.
The front and rear layer uses Sheep leather sandwich the center layer which is the buffalo leather
Use a card to verify there is sufficient space for ID card and edge space for stitching work.
Becuase rhe sheep leather is too soft and encounter some difficulty. Have decide to add a paper backing stiff paper material.
It make cutting to have better control.
Update on 4th Feb 2018
More inform that was miss out, sorry for the delay .. 👐
Using new picking iron punch.
Dip into wax and olive oil mixture to lubricate punch tips to make it easier to remove.
End of document 👴


