Showing posts with label Cable diy organizer. Show all posts

Key Chain #06 (Key Chain 4 and 6 head)


 New design and new material used for key chain 1) 4 heads type and 2) 6 heads type.


The inside pocket for card at both right and left side,  layer at center also allow to hold one card.
However the right side is limited space as the button block part of the path.


Five different design key chain for both 4 head and 6 head

TOP photo:- The pocket on the right have the leather with original pattern edge.


BOTTOM photo: the pocket on the RIGHT side is a straight edge while the LEFT side is with curve edge


                       End of document  πŸ‘΄

Cable Organizer #8 (Round organizer general purpose)

A simple gift for friend and colleague on simple design cable organizer.

 Tools and material for this project.
Use the glue can for round shape and my logo chop box

Use VT2 size button.

Finish project.


             End of document

Cable Organizer #7 (General purpose)


  This is another example of general purpose cable organizer to share.
The mains design is the same only there are few way to improve or customize base on user preference type of leather , shape of design and the type of cable, cable length, connector type head (big, small, medium and size to take into consideration) to take into consideration, it should be ease of operating it and safety.


For this cable organizer a straight line is cut with both end with round hole punch


              End of document  πŸ‘΄πŸ‘²πŸ‘Ά

Cable Organizer #5 (projector)

Simple cable organizer for office projector on VGA interface cable.

Cut two slot for opening at one of the leather strap.

         
 Cable organizer for VGA cable for projector

First loop is to hold to VGA cable

Second hole for strapping VGA cable


This is what the end product looks like for cable organizer which simple and straight forward.
* Do not need special tools and skill.
** Simple and use scrap leather material.
*** easy to do for all people and simple design for it intended purpose.


                 End of document   πŸ‘΄πŸ‘Ά

Cable DIY organizer #4 (Power Adaptor module)

         Try hand on a simple cable organizer for Adaptor module ( DYSON model DC 34 vacuum cleaner).

This is a straight forward project for any leathercraft novice entry level, nothing special.

 Complete project for adaptor module for cable organizer.

Another angle view of project.

Another side view

This is the way to warp the cable around.

The first point to wrap and button up.


Happy view and share any comment on this very simple cable DIY organizer... πŸ’


End of Document  πŸ‘Ά

Cable Organizer #3 (request)

                       Cable organizer for charge module   

While visiting relative house recently. There is a request for different model of mobile phone ,charger module of different shape.

Compare to own Samsung J5 model, the charger module is slightly smaller and slimmer design. Hence need to think of way to house the charger module.

Samsung J5 charger module


5.5 cm (width) x 4.8 cm (pin depth) x 5.0 cm (height)

Width 5.5 cm

Height 5.0 cm


Pin dethph


πŸ’  Work in progress.. please stay tune for more update.
Thank you


πŸ‘΄ End of document

Cable Organizer #2

      Cable organizer for different charge module

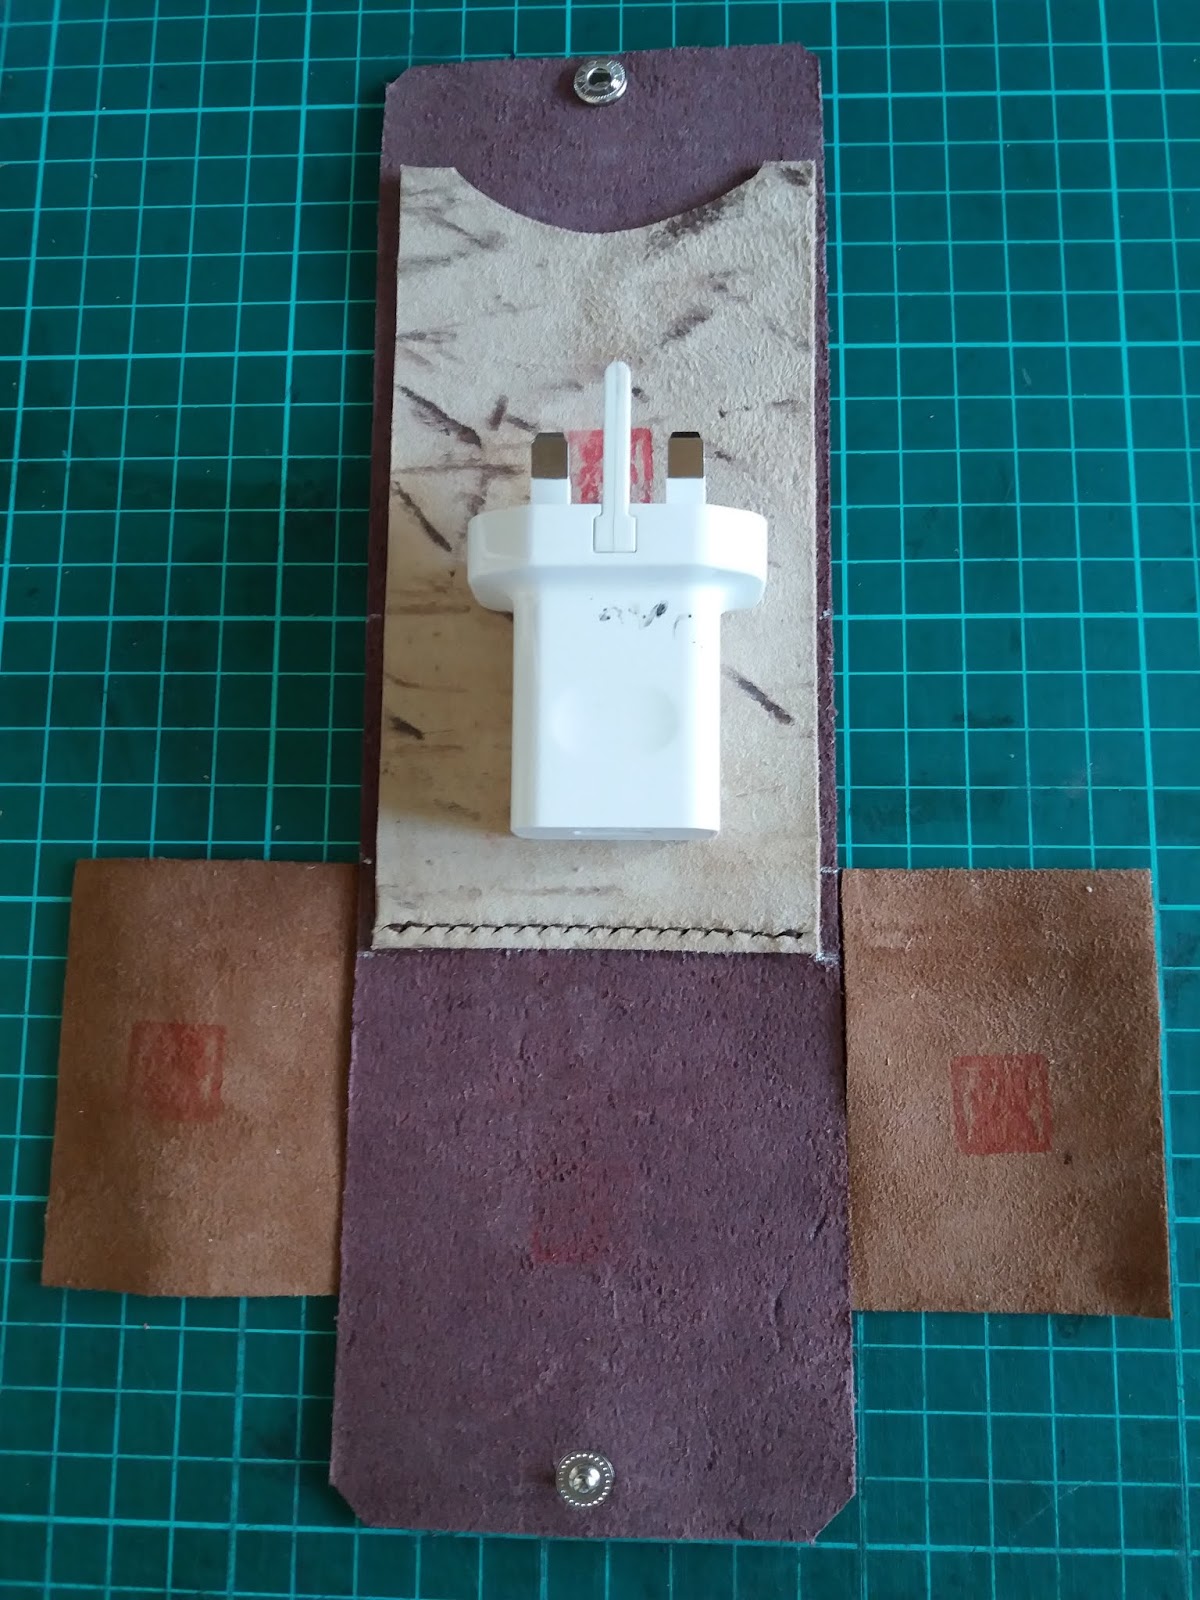
This is request from a friend with slightly longer charger module unit.

check on layout


Use charger module to check
measurement

Sew the inner layer to separate mini USB cable
and the charger module

Prepare for one side layer punch
hole

Remove these side and prepare to punch
the other side edge.


tool for punch hole

Stitch one side of edge

Apply glue with applicator for other side
of edge

tips use scrap leather for cleaning applicator surface to remove excess gule


temporary stitch for holding the other side layer


Update 15th Dec 2018

Verify this cable organizer
fit for the charger module
and Mini USB cable


Found this design have some drawback in term of keeping charger module and mini USB cable

1) The divider layer is not practical here. Hence need a different design.


2) The button use here is VT2, it is not sufficient strong to hold the two leather.

✋Please wait and will come back to revisit and add improvement to this design.


= = = = = = = = = = = = = = =

More view on improvement for past cable organizer. As noted the charger module can work out loose. Hence add a button on the tag,


Add a button for the tag. This is to minimize the flap open by itself. πŸ˜‡


                           πŸ‘΄- - - - - - End of document - - - - - πŸ‘΄

Cable Organizer #1 part 2

          Continue with project for cable organizer part 2 πŸ‘΄

         Try slight different design for this project, where the a charger module have a flap with tag to make it easier to use (open and close).
Tips - Found for cutting corner is use round punch and cut off much cleaner corner after bent the flap.

Do take note, the sequence to fabricate this project at times need to take into consideration which come first. This depend on your skill and knowledge which is the best step to take next.
This is no hard and  fix rule however you do need take into consideration for all future project and learn from experience.
As some part of assembly process need certain part to assemble ot punch hole for button and burnishing certain hard to reach edge.


Cut bottom corner for charger module

3.5cm with cut line drawn
At time the actual part need on hand to confirm it position and size for project.


Add tag strap on the flap part

Insert tag under flap

Punch hole to hold strap for tag

Tips - to remove hole punch tool from leather
 by using the chisel side edge

Stitch first hole

loop twice for first hole


Left most is 1st version, middle is 2nd version
Right most is 3rd version


Update 12th Dec 2018.

Continue with cable organizer project. Slight difference in design for the charger module and mini USB cable pouch.


Notice the flap is cut slant line and tapper at the end.
It is better to pre punch hole before assemble to make it easier to punch multi layer for project.


Close up view on project, is to cut a hole at corner which make it easier to fold the flap part.


 This how we cut the line and take note of the round hole for the corner part. It show a cut of 8 cm is required.


Use the charger module to check it fit and meet it requirement.


To cut the tight edge for "drain" and because the layer is thin hence use a base leather layer to make it easier to use the tool to cut drain line


First to temporary hold the edge for the bottom
part to enable easier punch hole for both side.

Verify charger module tight fit

Punch hole along side edge

Cut slot line for the tag part


FRIEND REQUEST project - 11th Dec 2018

This a request from friend for his mobile phone charger module. This unit is longer compare to Samsung J5 model mobile phone charger


Update 13th Dec 2018

After making use of this cable organizer, have some shortcoming, the flap can work itself loose as there is no device to hold it in place.
So have to investigate and think of other idea how to overcome this minor shortcoming.

 Looking into way on how to fasten the tag to minimize it work out loose over time.


This is how the tag is pull to uncover the flap. This same tag is to assist insert the flap when closing.


A suggestion from friend on future project.πŸ‘¦

Another idea was to create a new design cable organizer which both cable and charger module are encase all in one. This is suggestion put forward by a friend after view current cable organizer.

 πŸ‘€  This is another project to consider for the future..


End of document.. enjoy viewing project πŸ‘²

Repair rice cooker

 Was given a small rice cooker HANABISHI model HA1330, with problem cannot turn. Found this unit is due to power cord is defective (discover...