Speed stacks casing holder

 Speed stacks casing holder.

Try out a new project for grandson's speed stacks cup casing holder.

This casing holder to be protect the speed stacks cups, stem holder inside and have a small window to view and see what inside.

Height is about 30 cm (include a stem holder inserted) and base diameter is about 9 cm.


Cup diameter is about 9 cm.


A close up measurement on cup mouth , which is approximately 8 cm  diameter.


Cup bottom base diameter is about 5.5 cm


Quick stem measurement of height is about 21 cm and stem size is 2 cm


Measure cup up diameter to verify clearance, is about 1 cm.

This to provide sufficient clearance between cup surface and speed stacks holder leather layer.


Draw outline on leather surface. to cut another leather base to enhance better bottom support.


Use pin to hold the loop for holding the stem holder.
Verify position location to stitch the loop for quick stem holder on one side of casing layer.

Note the other side of the layer have a rectangular marking is for the "window".
This window is to allow user to see what inside the speed stacks holder.
 Confirm distance to bottom is sufficient when quick stem is in position during storage.

Note the position for this loop holder is allow user to view the quick stem when store inside.

Verify position for loop toward the edge. It is important for the "window" can see the quick stem holder from outside.

This is the size of the window , 7cm x 14.5 cm. I am using the plastic sheet which is from excess car accessories shop throw away material use for wind shield membrane.
 Apply glue to edge of window.
Prepare strip to support the edge of window.
Punch hole for strip, do note did not punch hole all around.
Prepare by remove leather surface of edge to be glue.
Stitch one side of casing first from bottom to top.
Do take note the corner edge is to allow the bottom edge to fold over and stitch to base bottom layer.
Pre punch hole for both side of edge.
Stitch the lower bottom and stop half way
Stitch the base bottom edge around the side layer


Once it completed one loop it is terminated.


To be continue .... trying to think of way to make a cover or way to latch the entrance with handle. 

Taking a break for now.

= = = = = = = =  Update 13th July 2022. = = = = =

Finally completed the project after thinking over alternative to add device to project . 

Summary on this update , 1) add the initial label, 2) magnetic button clasp snap 3) handle shape and VT2 button.

1) For ease of identification purpose have add the label with user initial.

2) A magnetic button clasp snap was to prevent the speed stacks cup are secure inside holder.

3) Cut hand shape to act as handle with VT2 button to secure the handle in position.


Once the bottom layer and two side layer are up. The next phase is to add an initial label to project. 

This image shows the close up zoom on the window, can see items inside speed stacks holder. 


Use paper template drawing to decide font type, size of font.

Some basic tools required for this job.

Note use a scrap leather from this project from the "window". It just fit in for this project.


Use a sharp knife to scratch within the define shape of character. This step is important to allow the glue to adhere the two layer to stick together.
So when doing the punching hole step is to minimize movement between two layer.

It better to to allow sufficient time for glue to set and harden before you punch hole.


Use a divider to trace a line at edge of label in preparation for punch hole.


Draw a center line on each character in preparation for

punch hole and do stitching.


Tools used for use to attached initial character layer to speed stacks cup holder.


Use two different color thread for stitching label


Next is install a magnetic clasp snap on device to minimize the item from dropping out.


To strength the magnetic clasp snap on was to add a paper base layer to support the legs.
To minimize the metallic leg to scratch the side add a small round pad. 


There is two way to mark line for punching stitch hole.
a) use a divider and trace a line along the edge of pad.
b) pre draw punch line before cutting the round pad.


Cut hand shape to act as handle with VT2 button to secure the handle in position on both side.


The shape of the handle was to accommodate our hand natural feature. 

NOTE:- my first idea design was to use two magnet encapsulate on both opposite side. But was stop due to lack in experience to skive a circular area for the magnet to sit, encounter the skive area was torn or damage during skiving process.
Hence decide to replace with VT 2 button snap on work around.


Front view of project

Rear view of project.


                                                         👷  End of document 👴

Lady shoe repair (Adidas) - 女性靴修理(アディダス)

      Lady shoe repair (Adidas)  女性靴修理(アディダス)

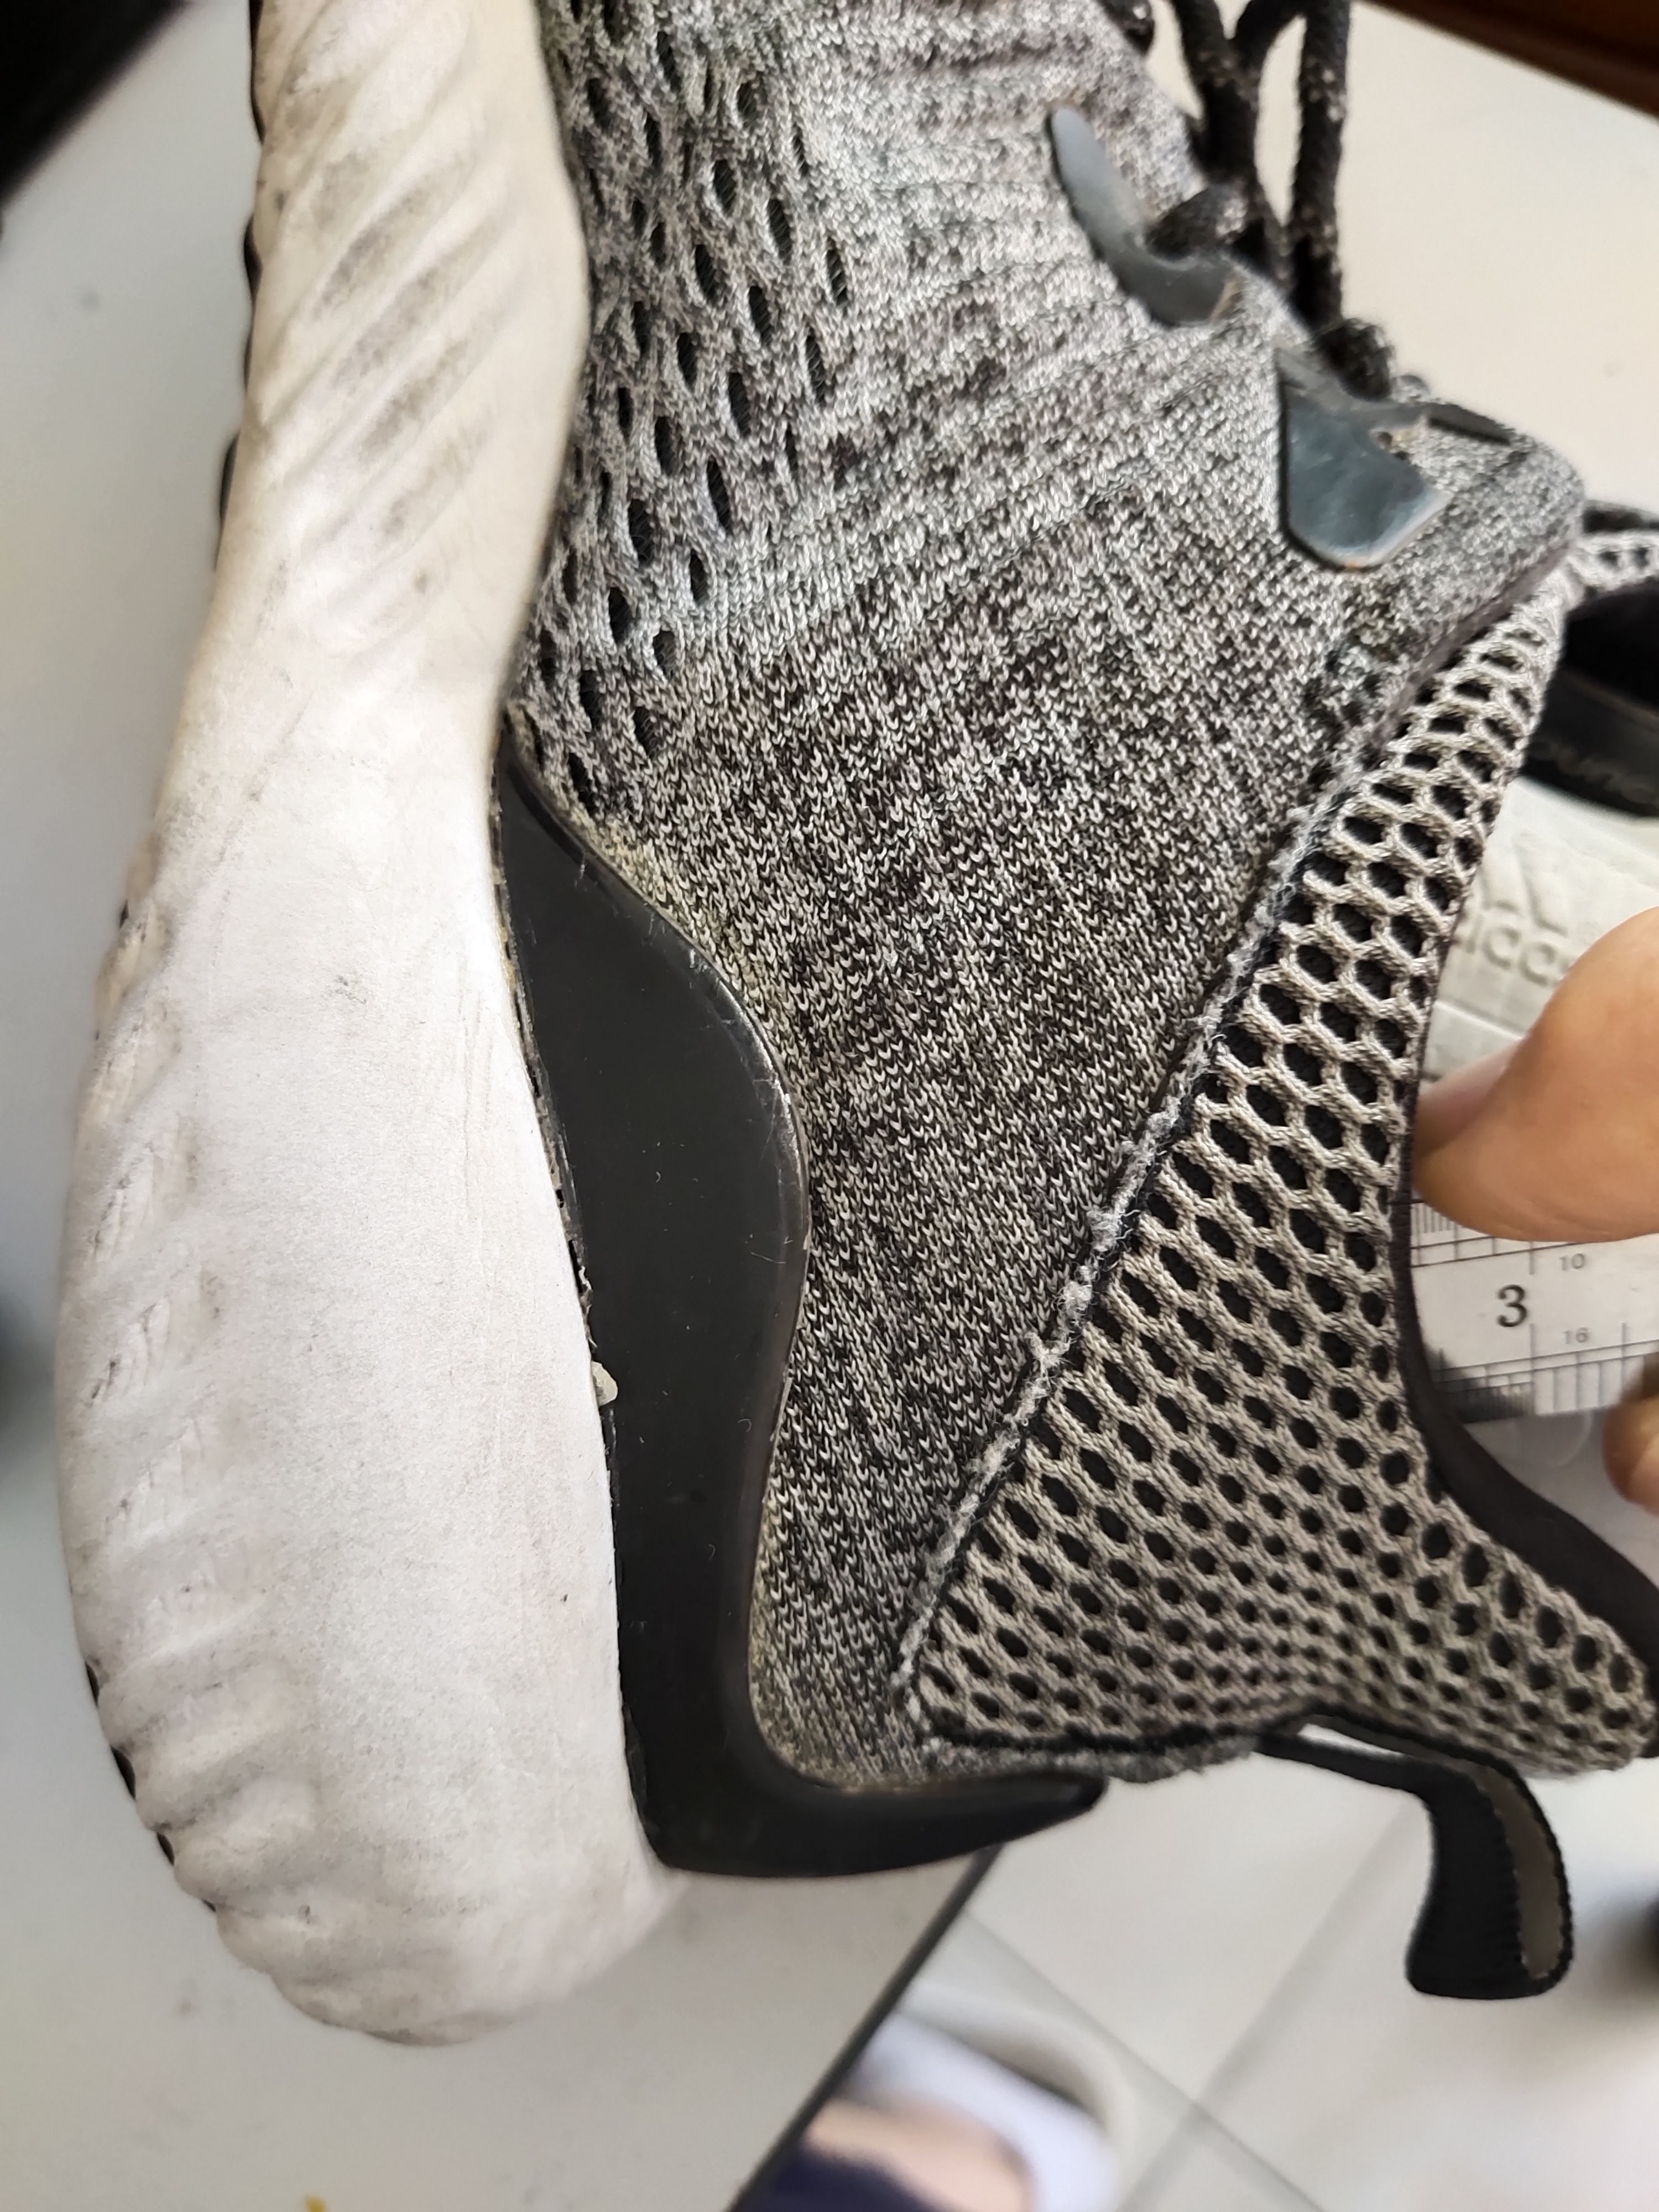
This repair is for both right and left shoe with split outer sole for Adidas Alpha Bounce shoe. この修理は、アディダス アルファ バウンス シューズのアウターソールが分割されている左右の靴の修理です。

Another shoe to repair is HLA BLXZPD on the left shoe with split outer sole. 修理するもう 1 つの靴は、外側のソールが分割された左靴の HLA BLXZPD です。

1. The first repair is for a Adidas Alpha Bounce shoe with both side with split open for outer sole. Both split at heel end toward center.1. 最初の修理は、外側のソールが両側に割れているアディダス アルファ バウンス シューズです。 どちらもかかと端で中央に向かって分割されます。

The Adidas Alpha Bounce shoe have the split occur at the heel end. Adidas Alpha Bounce シューズはかかとの端に亀裂が生じています。


Shoe label. 靴のラベル。


The brand name and type of shoe - Adidas Alpha Bounce. ブランド名と靴の種類 - Adidas Alpha Bounce


How the shoe lace is tie for this end user


With top sole lining layer remove and see the inner sole with stitch line visible at edge.


Measure the shoe inside depth and reference point to mark where to cut a line on the rubber outer sole for hiding stitching thread.

The purpose is to approximate where the external cut line closer to the inner sole section.

This is to help locate the needle insertion point.


Use ruler to check location to cut a line for hiding stitching thread.

Before start repair is to clean the inside layer, then apply glue on the inner and outer sole layer.

Ensure to allow sufficient curing time for the glue to cure before attaching them. Try to use mallet to apply pressure when doing this process.

Once you have allow sufficient time for glue to harden before start stitching process. The main reason for stitching thread is to hold the two layer better and minimize stress. This is help reduce stress to the glue adhesion.

It is important not to cut too deep line, just sufficient depth to conceal the thread.

Dip thread one end to glue to minimize end frail when doing stitching work with needle.

check to check is the awl tool of sufficient length.

Mark the spacing in between stitch point.

Cut line on outer sole to hide thread.
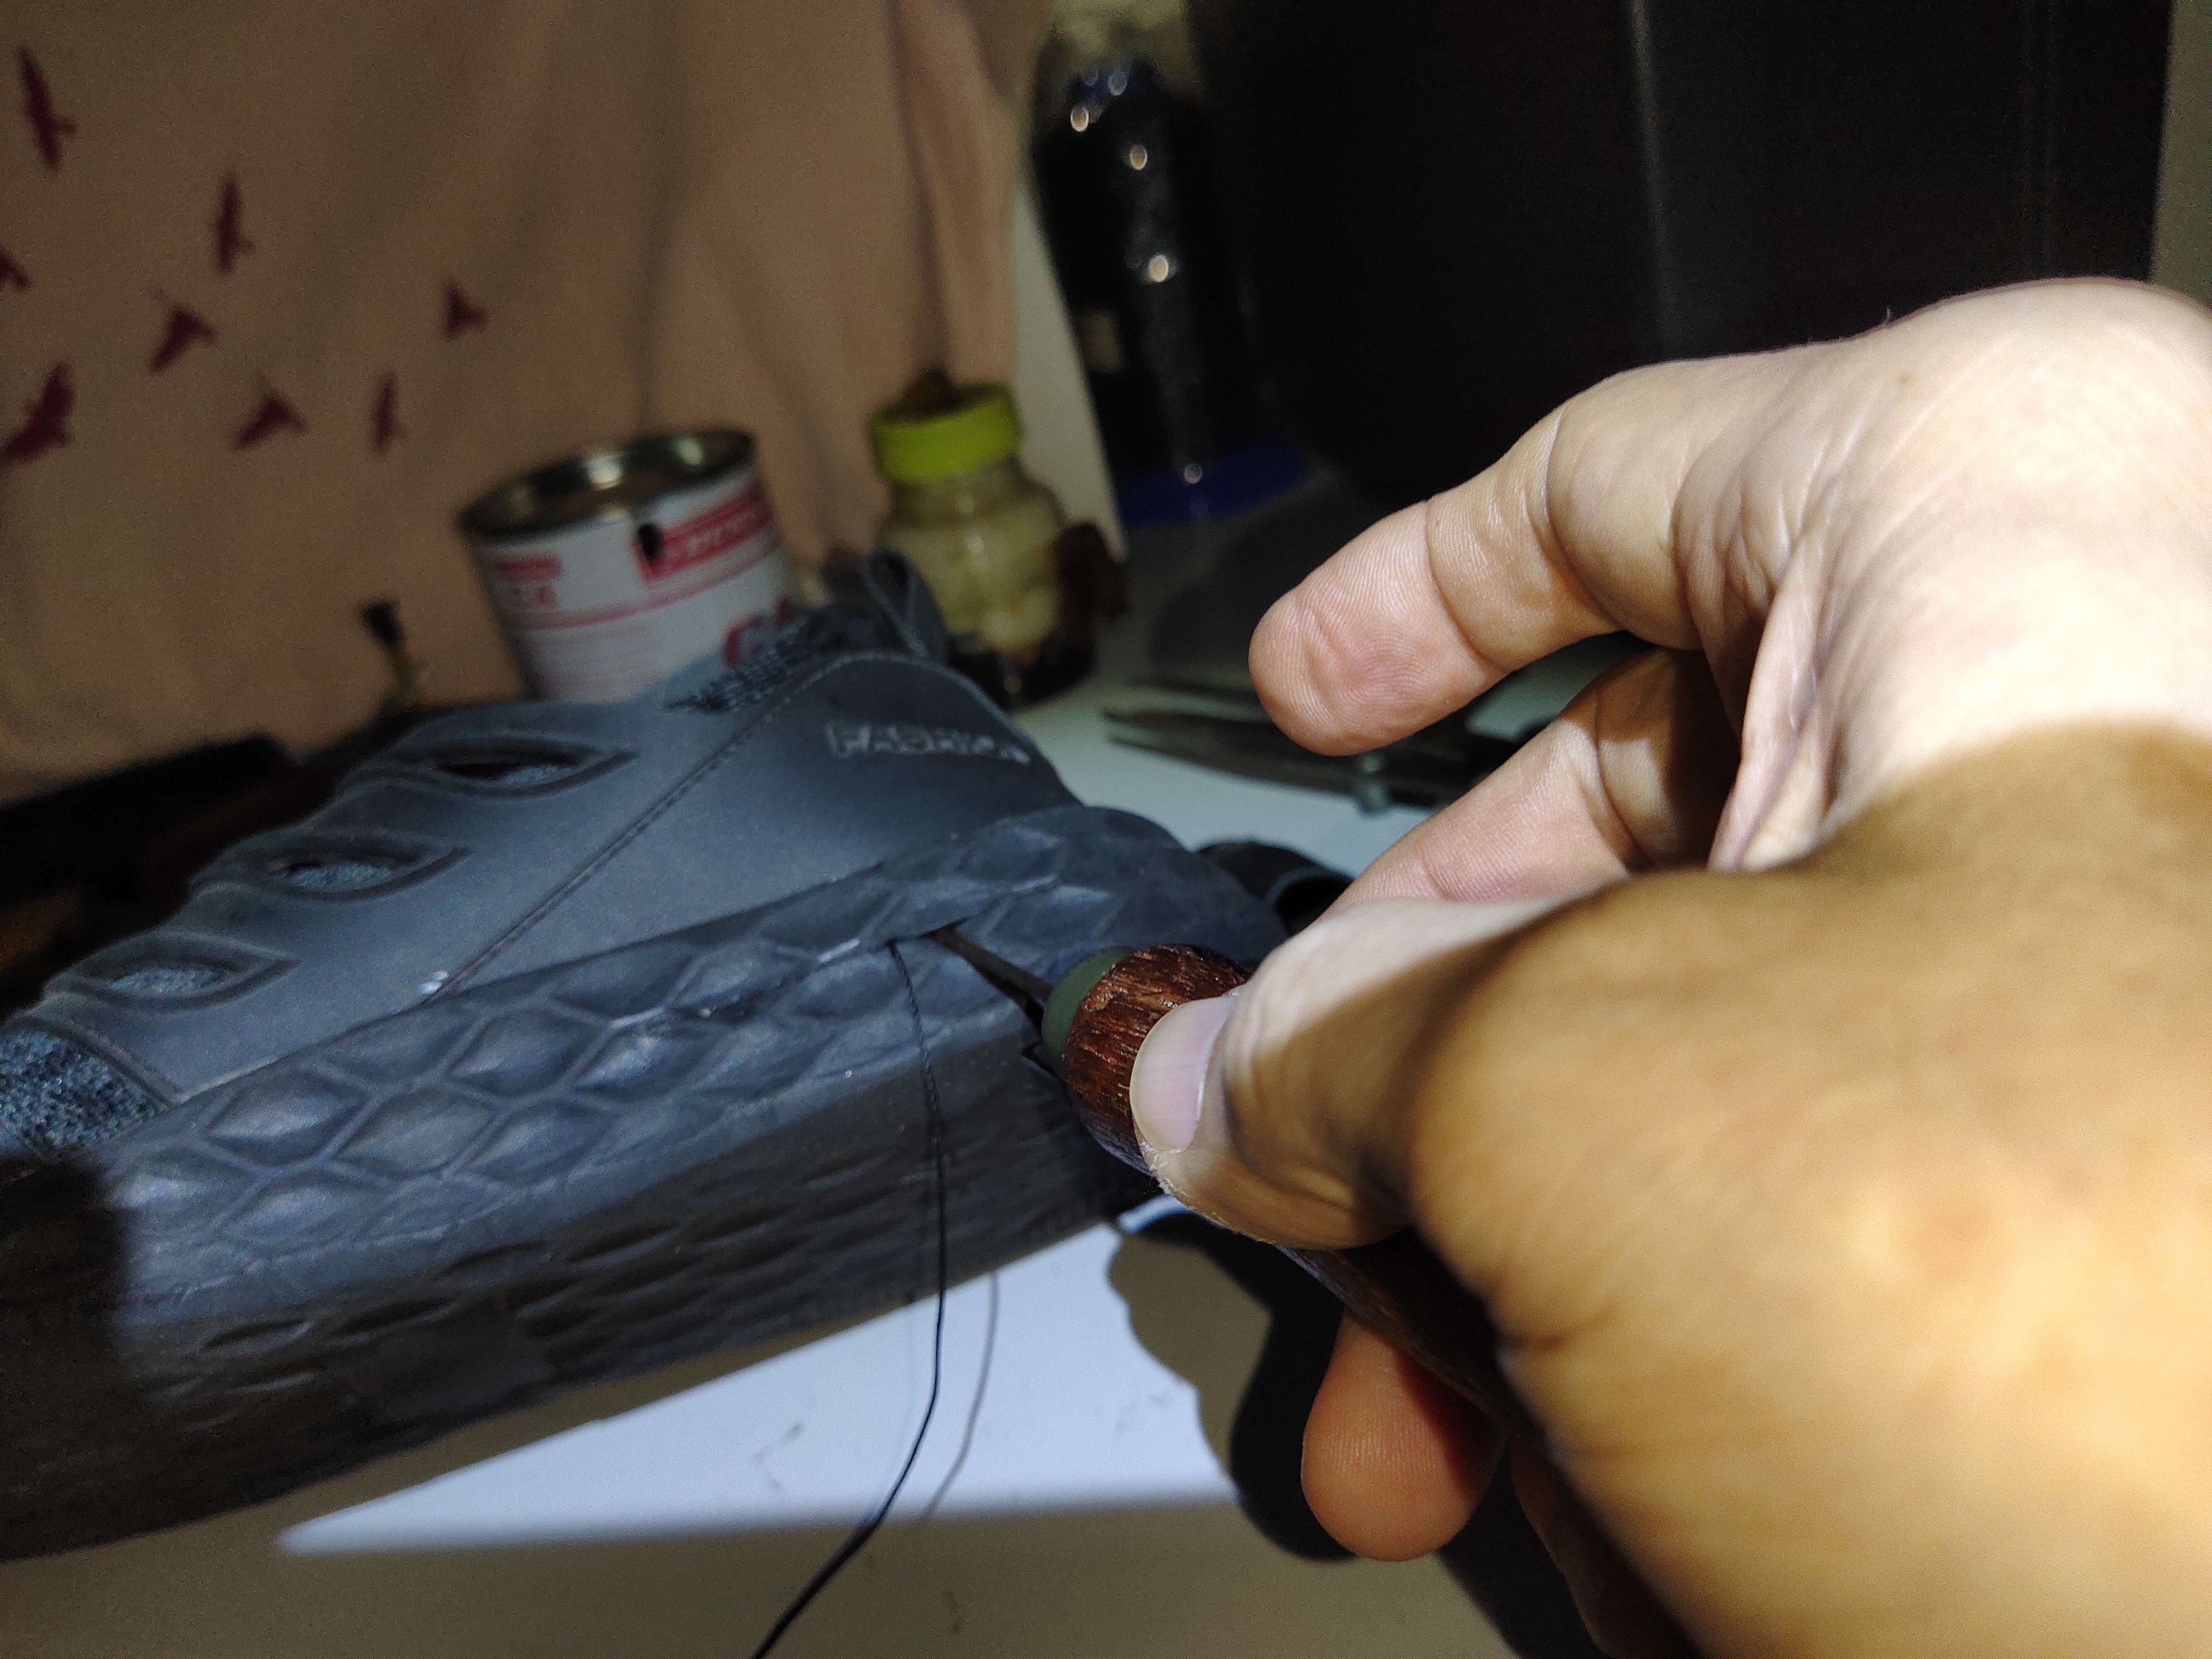
Use compass to mark location for insert needle awl.


This is to show the needle awl insertion point and decide how much cut line to extend.


Repeat the same for other side of the shoe.

This complete repair done for Adidas shoe.


Another repair is HLA BLXZPD for left side of shoe only.


This shoe have split on outer sole. \the split open is from the heel end toward the centre.

Remove old glue mark and found the inner sole is loosen. Clean up area before apply glue with hardener.
After cleaning is done apply glue and allow sufficient time for glue to cure before attached both layer.
Check on model or brand name
Attach both sdie after glue is cure.


After checking the place to insert needle awl cut a a fine line to hide thread. 
pull thread with awl
loop thread to terminate
UPDATE on 22nd May 2024

Some resources on how shoe are constructed to give some insight to repair shoe.

= = = = = = = 

https://www.totalshoeconcept.com/the-8-most-common-shoe-constructions
THE 8 MOST COMMON SHOE CONSTRUCTIONS  
 8th November 2016    

As there are many ways to Rome, there are many ways to make shoes.
We have listed the most common constructions for you. Sometimes different countries have slightly different terminology for the same constructions. If you would like to share the terms that you use, leave us a comment below this article. We would love to hear the words you use!


                                👷  End of document 👴


Lady Shoe repair "KLEI"

             Lady shoe repair task


             This lady shoe with the bottom sole being defective. Most common problem found on most shoe repair is the separation of outer sole. Both the left and right shoe have the same issue of outer sole split wide open.

Based on my observation for some reason the outer sole have the glue " missing" or the adhesion surface on both the surface is lacking.

Hence the bondage between outer sole to the base is " disappear" and the result the sole just does not stick together.


This is a customize shoe have it outer sole separated, can see the felt material is also lifted off.

What most surprising is the shoe is hardly worn or stress out base on my observation.
For some reason this shoe is barely use or worn by user but have this defect appear so early.


After checking the inner sole and inner lining material it feel strange and later discovered the material use for lining inside gradually disintegrate when working on both shoe. 
Not sure why the material behave this way, base on observation and feedback this shoe was hardly worn. So not sure why the lining react this way.😂


Underside view of inner sole and notice the wrinkle toward the toe tip. It is not  even surface due to external transparent layer is lifted out. Not sure what is the reason for this surface.


The brand name imprint on inner sole as KLEI.


Notice the material use for this shoe is started to peel off. The clear transparent layer is separated with the black base. The black base where some it material is dropping off. Can see the broken black material is disintegrating, see the black spot on the cardboard surface.

Any way try to apply glue between them to see it work or not. The result is not very good as the glue have poor outcome.


Certain part of the felt material was lifted up is re attached with contact glue.
It best to ensure the glue is allow with sufficient time to cure before stick both piece together.

This the learning experience and and also trial an error over time.

If the glue is allow to cure it adhesion is better and your repair work is more satisfactory and enjoy the repair work.

As noted the old glue need to clean the outer sole surface, notice the old glue is best to remove and clean surface before apply glue.


This is to show what happen when try to lift off the inner
sole. The top layer disintegrate when touch it surface with bare hand.

Not sure why this material behave in this manner.


Allow glue to cure time before attached both layer together.


Try to do stitching for the toe side section . However because the inner lining and inner sole materials is very fragile just try out only to the toe to give strength .

Hence limited edge of the outer sole use the thread stitching because of this issue


This complete repair for this shoe.


                                                      👷  End of document 👴

Repair rice cooker

 Was given a small rice cooker HANABISHI model HA1330, with problem cannot turn. Found this unit is due to power cord is defective (discover...