Make new pencil casing as replacement as the first version design was too short for certain type of pencil. The previous pencil case was only 2 cm shorter and hence some pencil cannot be fitted.

Work around by making a longer pencil case with two pouch seperator

The leather materials chosen was of three different texture and thickness.


use a number #2 beveler for the edge

Measure the flap and where to punch button hole and mount the button.
I use a small metal plate to punch the button.


For the logo tag try to trim the edge for thinner where it is insert in between two layer.


Inert wood base to punch hole for the logo.

Clean and treatment for leather surface before apply gule

Drain cutter

Punch hole for edge

Update on 1st July 2019.
 Compare between two different size pencil case
 Rear view for comparison


This is the gift for a relative, pencil case and cable organizer.

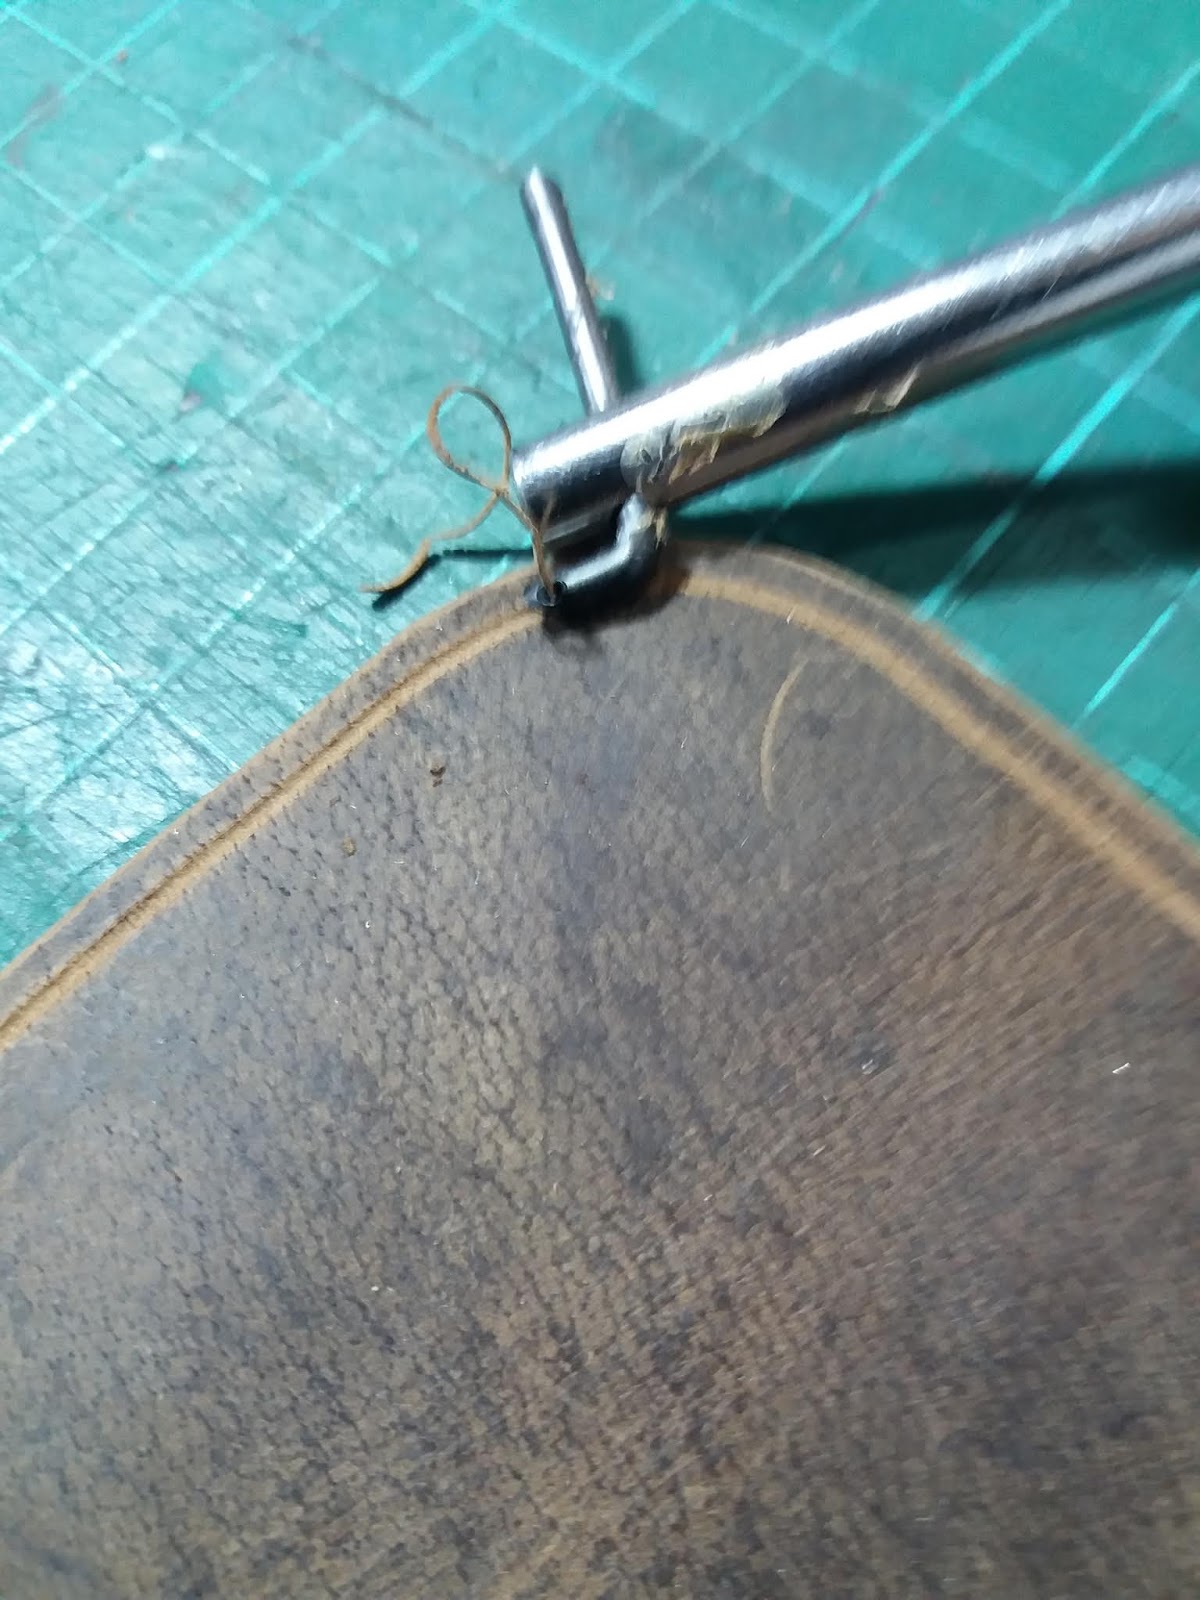
This is one way to ensure the button seal did not move or peel off. After punch hole is the do a stitches.
👴 End of document 👀

Work around by making a longer pencil case with two pouch seperator

The leather materials chosen was of three different texture and thickness.


use a number #2 beveler for the edge

Measure the flap and where to punch button hole and mount the button.
I use a small metal plate to punch the button.


For the logo tag try to trim the edge for thinner where it is insert in between two layer.


Inert wood base to punch hole for the logo.

Clean and treatment for leather surface before apply gule
Drain cutter

Punch hole for edge

Update on 1st July 2019.


This is the gift for a relative, pencil case and cable organizer.

This is one way to ensure the button seal did not move or peel off. After punch hole is the do a stitches.
👴 End of document 👀


No comments:
Post a Comment