Tobacco pipes and cigar holder

Tobacco pipes and cigar holder


Update on 7th March

Tried to improve on the project edge burnishing to smooth and refine the surface .  

What was tried  by using fine sand paper of grit 1000 to polish the edge and apply chemical "Ledafil" and use wooden slicker and "jean" cloth to burnish edge. It is still a major challenge to improve. There is some slight changes, it looks like certain leather properties (chrome tan) make this a great challenge. Try other leather type, result vary depending on leather type and property.

Have to check with other expert to seek advise and check for possible solution or work around. Have view some YouTube "expert" which share idea and tips for better work around. 


 = = = = = = = = = = = = = = = = = = = = = = = = = = = = = = = = = = = = = = = = = = = = =

Update on 30th Dec 2021.

Tobacco Pipes Stand


= = = = = = = = = = = = = = = = = = = = = = = = = = = = = = = = = = = = = = = = = = = = =

Update 26th Nov 2021.

After getting feedback from end user,  due to need to accommodate for a bigger diameter cigar.


These tools are required for this project.

Tips:- it better if you have a straight line cutter in this case. The result is better in term of finishing and clean line.
Tools required for project.


When attaching both layer, it easier to start from either end and glue to other end.
This is to allow the curve part to match.


Stitching done to ensure two layer are firmly attached.

Punch round hole will be easier if the top layer is pre- punch first. Follow by the round punch thru the first layer to second layer.
In this case use a 6 mm round punch.

If try to punch round thru two layer is more challenging.

Top view of project


Update image on 2nd Dec 2021


Drawing for cigar holder.


= = = = = = = = = = = = = = = = = =  4th Nov 2021 = = = = = = = = = = 

This is a friend request to create a tobacco pipes and cigar stand / holder.

The design of these product is base on Pinterst web site, some idea are taken from there. Credit due is from them too.

This is for a cigar holder project.

You may want to follow the sequence . One end of the project is glue first. This to help hold in position to punch stitching hole.

The reason is apparent the bottom layer is slightly shorter than the top layer is to accommodate the curving path.

It better to cut the hole for top layer first. Then trace on to other surface on the bottom layer. This is because it already curve hence it challenging to punch thru or cut line on uneven surface.


To cut a "valley" use a end strap cutter for belt to create this shape. Take note the bottom layer is resting at one end of a wooden block while cutter is position.
Holding the top layer in position for end strap cutter cut the shape as required.


After cut thru the top layer use a pen to mark line for the bottom layer as shown. Position end strap cutter and follow the line to cut for bottom layer.


After cutting is done glue both top and bottom layer, once the glue harden.

You will notice a inverted "V" shape on project.

Next punch a 4 mm round hole on both end of the project, inserted a leather string to hold the project in position required.


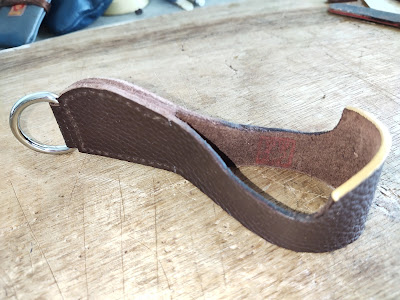
Some of the tools used for this project. Not visible here is a skive tool, to reduce thickness of leather materials.


Finish project for cigar holder.


Update on 26th Nov 2021.

More update to come.. stay tune.

Another design for cigar holder, it is an adjustable in length of cigar it can accommodate.

 Work in progress...stay tune


This design use simple way to accommodate cigar length.
 

Do take note the original "Valley" cut have been widen , as end user feedback. 
As some cigar is about 2.5 cm in diameter.

Since there are various diameter size for cigar it better to confirm what "valley gap" is required.


A cut for "valley" width 2.5 cm is required in this project. 

Base on end user the cigar is about 1 inch in diameter. Earlier design was base on own assumption which in error.

Further cut a bigger "valley" to meet end user requirement.


= = = = = = = = = = = = = = =

Update on 7th Nov 2021.

      Tobacco pipes stand base on design as shown on Pinterest site. https://www.pinterest.com/pin/15903404924564000/


Finish product.


Update image on 2nd Dec 2021


                                          End of document 👷

Dyson vacuum cleaner repair

 Dyson vacuum cleaner repair

  This Dyson V10 vacuum cleaner was defective with it trigger button stuck and button recess position.

User not able to press the trigger button as it is flash with handle. 

Base on various input the main reason is the plastic trigger mechanism is broken. This resulted in the battery is not turn on.


*** Note:- this type of repair will be best attempt by personnel with background on electrical and electronic, repair experience and knowledge. However if you feel comfortable to try after viewing the YouTube video and have the necessary tools and skill please proceed with caution. As some of the parts are SMT device and fragile connectors and cables.


Saw some useful and interesting  repair video tips from You Tube with related to same issue I encountered for this Dyson vacuum cleaner. I also viewed these video to get some tips on repair related to trigger button failure.

Also learn this vacuum cleaner have know defect on the design of the trigger plastic, there was some comments regards to this matter.

Sharing some url link to You Tube site.

https://www.youtube.com/watch?v=Mmz54gocIq8

Dyson V10 V11 Complex (Defect) Trigger Disassembly / Modification

 •28 Jun 2020 J D   (08:04 minutes)

 I was having an ON/OFF problem with the trigger on my Dyson V11 Torque.  Either the actuator switch on the battery was too tall, or the trigger pin on the handle was too long!

I created this video to show the more complex disassembly and modification or the trigger "leg" to allow more travel on the trigger pin.

NOTE:  Keep in mind, any visible alterations/mods made to these vacuums (while under warranty) ... will most definitely void your warranty.  Always proceed at your own risk and level of comfort while working with electronics, and remove the battery first!

= = = = = = = = = = = = = = = = = = = = = = = = = = = = = = = = = == = = = = = = = = = = = = = = = =

https://www.youtube.com/watch?v=dnptF_fuYwA

Dyson V11/V10 - How to fix trigger problem (trigger broken, gâchette cassé)

•25 Nov 2020 Adrien H   (18:35 minutes)

 Let me show you how to fix the broken trigger with Dyson V11 standard/absolute or V10. 

Complete video disassembly and reassembly.

 = = = = = = = = = = = = = = = = = = = = = = = = = = = = = = = = = == = = = = = = = = = = = = = = = =

https://www.youtube.com/watch?v=PlurUXWUXAg

How To Fix A Broken Trigger On A Dyson V11 Animal

 •22 Feb 2021 The Way We Do It  (8:09 minutes)

 eBay seller of the trigger

Tovhash

https://www.ebay.com/usr/tovhash?_trk...

= = = = = = = = = = = = = = = = = = = = = = = = = = = = = = = = = == = = = = = = = = = = = = = = = =

https://www.youtube.com/watch?v=EYrQ2c0pGc8

OPEN ME UP! Dyson V11 and V10 COMPLEX Disassembly and Clean

 •7 Feb 2020 OPEN ME UP  (30:05 minutes)

 this is a COMPLEX video to show you how to clean and disassemble your dyson V10 and V11 vacuum. This will allow you to clean the vacuum 100%. Do not attempt until you watch the whole thing. There is a SIMPLE version of this video on my channel which is recommended


                                 End of document 👴

Shoe repair #1 (Scholl)

               This is about own shoe repair (old shoe design SCHOLL). 

Both right and left outer sole is worn off and some part with big crack line. While the inner sole of shoe have worn off lining and in sole is worn off and certain part of padding layer some is torn and broken.


These are the defects..👀


First remove the in sole materials from shoe.  1) Bottom layer 2) Heel layer 3) Inner sole layer 4) Leather inner sole layer

Next take measurement on all layer of in sole so that the new material thickness almost the same as the original.


 👶   End of document  👴


Electrical switchboard cabinet


This project is a simple repair for an electrical switchboard cabinet flush, the swing cover with broken pin at one side. This result in expose circuit breaker and associate parts on switchboard.

First looks for a 4 mm diameter pin to use as replacement.


!! Warning:-  👀👀 if you are not familiar with high voltage switchboard do attempt this project for your own safety.


                                    End of document 👀

Child Safety door strap

             This is a simple project is about children safety device ,it is minimize children wandering into kitchen and open cabinet door. Notice young toddler like my grand daughter have started to explore around kitchen area and try to open kitchen cabinet door.

Since the door have handle try this simple way to minimize them open the cabinet door. The purpose to make it difficult to open the cabinet door.

You will notice one side of the strap have a heavy duty snap on button, while the other end have  VT1 snap on button.


                                👶   End of document  👷

Tote Bag # 13 (Canvas/Leather tote bag)

 Tote Bag # 13 (Canvas/Leather tote bag)

          This project on tote bag is for grandson who have just started school and need a small tote bag to carry his exercise books, water bottle and tea time snack.

Started this project tote bag on 16th March.

Idea of trying to combine two different materials (canvas and leather) for this tote bag design . As both materials are good and have strong properties and durable. They each have their pro and con.

This project have some challenges for tote bag.

1. encounter some difficulty to stitch them and punch hole. It take longer time to stitch them together. As the fabric of canvas is soft and the edge will fray if not handle with care.

2. Canvas is flexible, soft material, hence when stitching item do be aware as it can run off  during the project. This to what I see when handling canvas, to other expert this should not pose a great challenge.

Share dimension for this project.. Use this as a guide to help with overall view of this project. You can try it out to match your own needs ..good luck.


* Note. this project selected two nylon rope of about 5 mm diameter. 


Note:- the bottom of pocket is sew such the slanted part of it edge does not cause issue on the bottom edge stitching.

= = = = = = = = = = = = = = =  # # # # # # # = = = = = = = = = = = = = = =


Use an old bag as template and estimate size of tote bag.

Height 25 cm, width 21 cm and depth 12 cm.

Decide to use canvas for front, bottom and back. While leather is use for handle and right and left side wall of tote bag.


** update on 22nd Sept 2021


Refer to drawing above on measurement for making pocket.


The bottom layer use a leather of 1.5 mm thickness and cut to size . On both side where the canvas seam fold over need leather edge to skive to reduce thickness. Use black sewing thread to hold bottom layer.


Original leather thickness is about 1.5 mm and skive the edge to about 1.0 mm thickness.


** update on 22nd Sept 2021


Next step after adding a bottom layer is get the inside pocket ready on tote bag.

Note the bottom part of the pocket is use machine to sew method. 

Take note all three side of the pocket have the seam folded and use machine to sew. 


Use a gage to verify diameter of rope use is about 5mm.

Ensure you use the actual sponge to wrap around both ropes to measure.

*Tips as the thickness of sponge have to take into account.

After confirm the width of sponge to cut to required width.

Next to prepare to glue both rope on to sponge surface.

It better to draw a center line on sponge to ensure it align the rope in correct position. 

Tips:- it better after cut rope with the end are heated with lighter. This is to help to prevent rope end from fraying.


** update on 22nd Sept 2021


Step to fabricate handle.
Apply glue to both rope and to center of sponge.
For the rope it better to have clip holding in position and apply glue.
Once the glue is about to set align the rope to sponge surface.
 Once both rope are done, next is to apply glue to the sponge expose edge and on rope surface. Wrap sponge over rope
Use clips to hold sponge in position as the glue take time to harden 

On the leather strip place the sponge/rope in position to allow marking punch hole.

It is better to pre punch holes on one of edge of leather. It is ensure the punch hole are neat clean and center. it is easier to punch hole on thin leather.


Tips:- to better align both edge of the punch hole will recommend this way. 1) Pre punch hole (first set) to one side of the leather edge. Once it done, use a minimum glue both edge of leather and fold to match the edge. 2) Proceed to punch hole for the second edge using the first set of punch hole as a guide. 3) once the punch hole is complete, unfold the two edge.

To cover the expose rope end cut a small leather size to overlap the sponge, it recommend to skive the edge of small leather that meet the rope end, this way the it is not too thick. Need to punch hole once the small leather is cured. As the stitch hole is covered up, punch hole to allow thread will pass thru.


Tips: It better to clean your scapula blade clean, use a small scrap leather to rub off the excess glue from edge.


This is to show how to fabricate a handle for tote bag.


It pre-punch hole on the leather layer edge, this way it easier to glue both canvas and leather to punch hole.

However notice it easier if the first needle is insert from the canvas layer. If the hole is insufficient it good idea to use an awl #3 to clear the hole.


Do take close look how the corner leather material is folded. This will make the corner rounded after reverse flip over the bag.


** update on 22nd Sept 2021


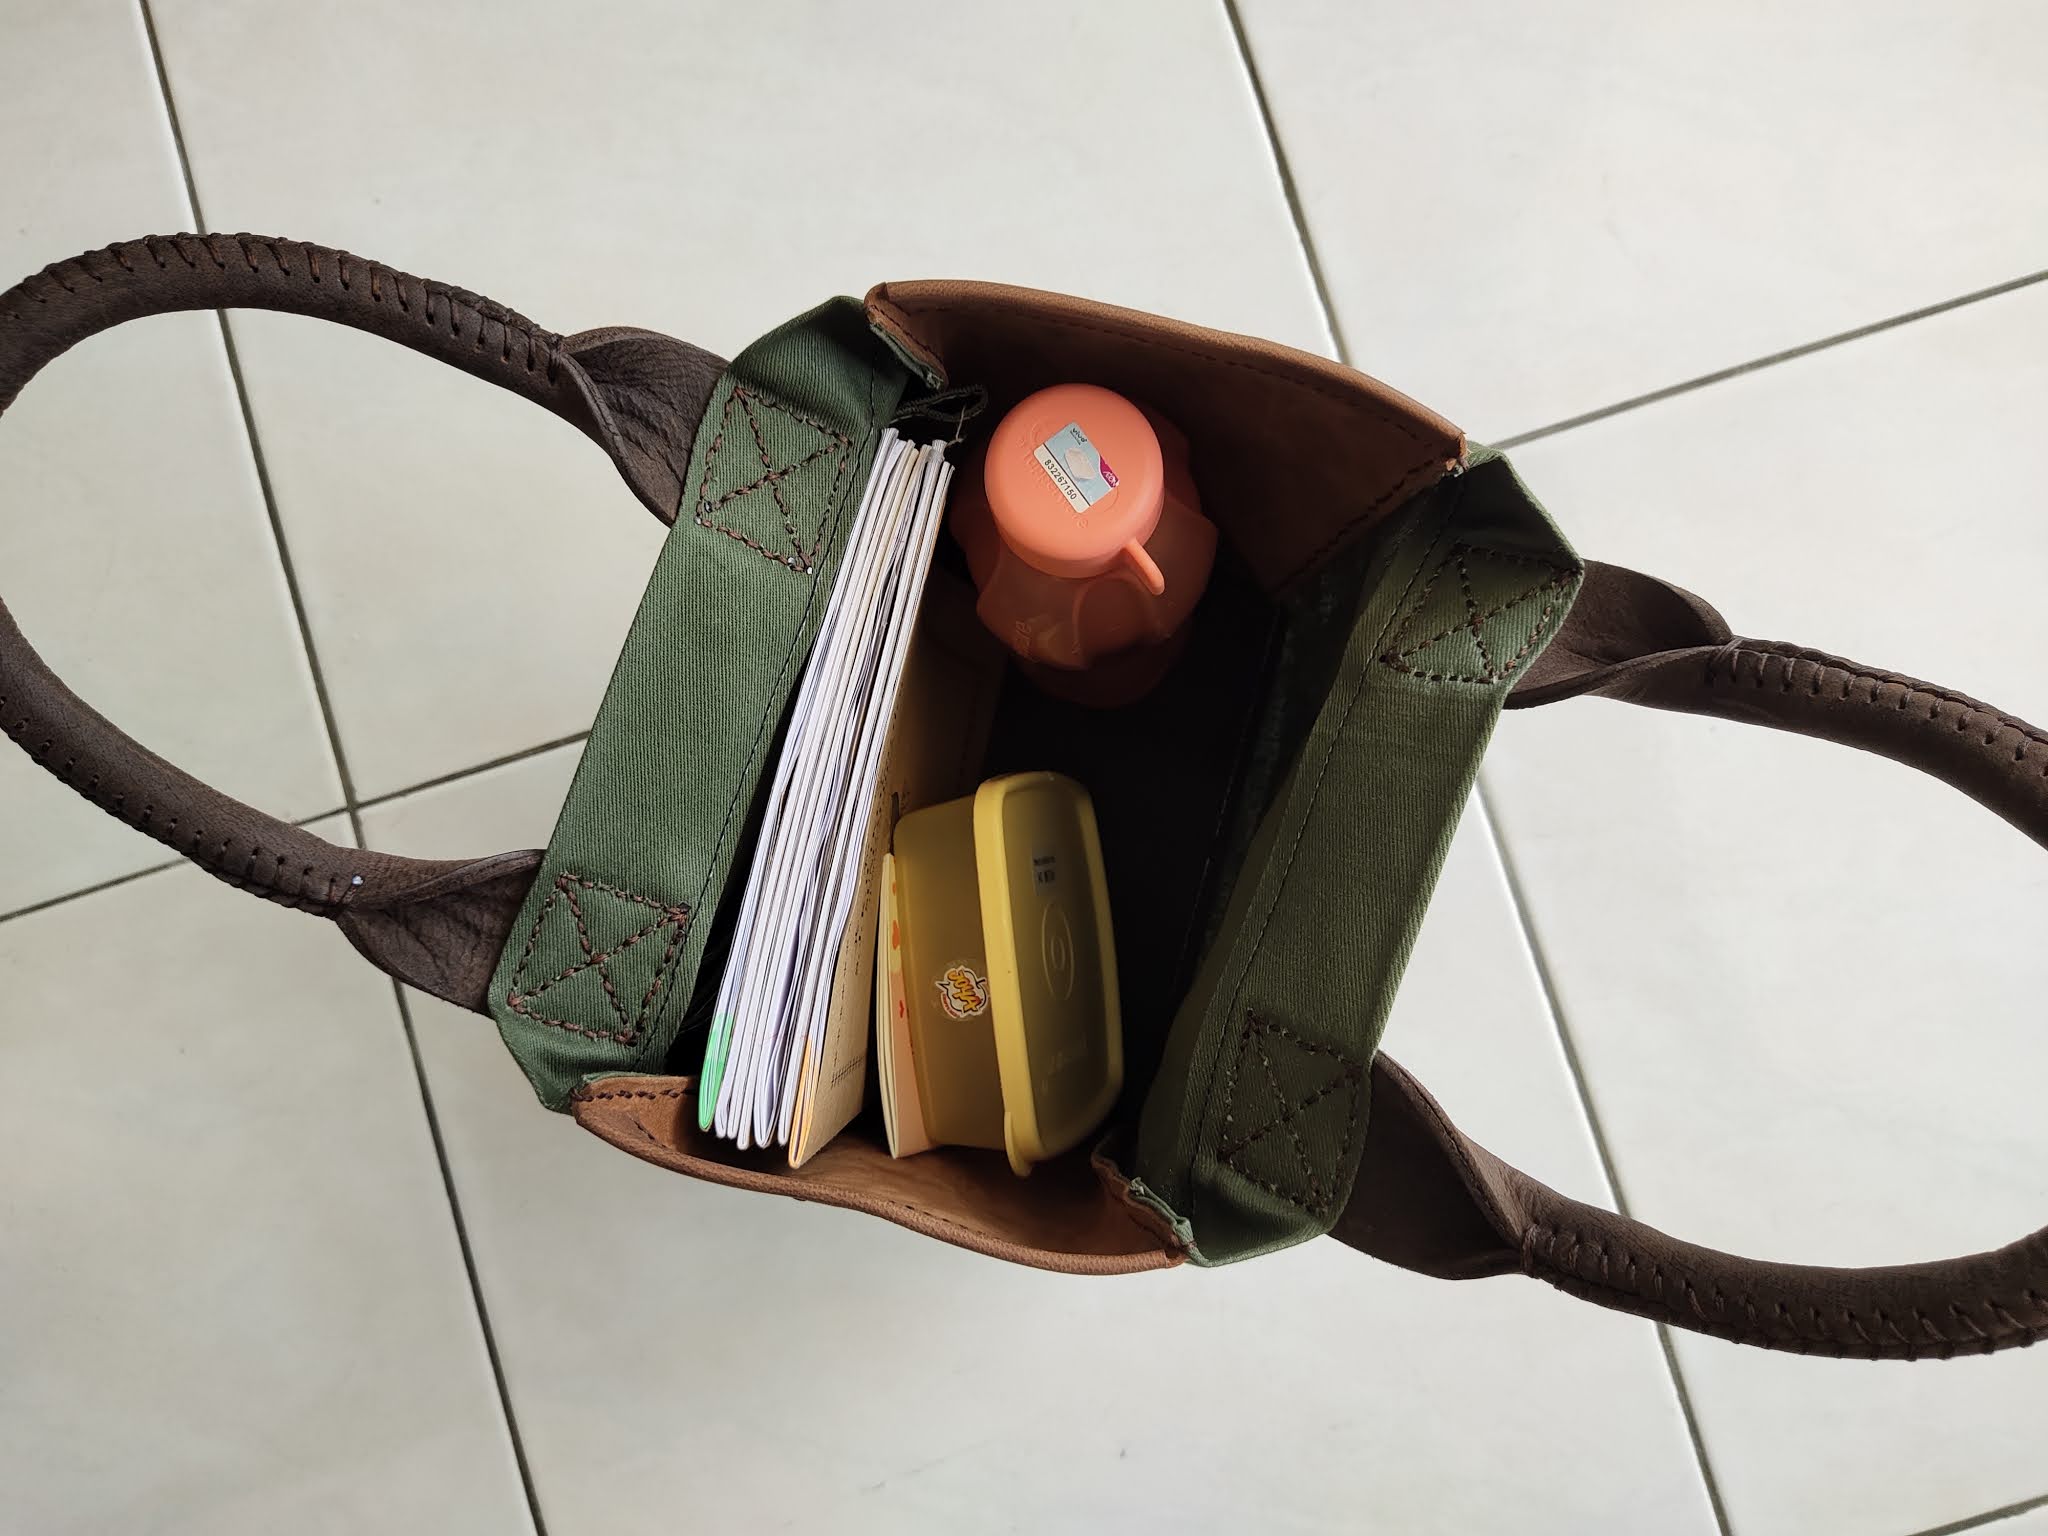
Tote bag to carry student's books, tea time snack container and water bottle.

Or use to store his art work items.

** update on 22nd Sept 2021


This how the bag is use for carrying items of needs.

1. Carry in this position.

2. Carry on shoulder position

** update on 22nd Sept 2021

        👷  End of document   👴

Repair rice cooker

 Was given a small rice cooker HANABISHI model HA1330, with problem cannot turn. Found this unit is due to power cord is defective (discover...