Tote Bag # 10 (Tote bag, Inner bag)
To fabricate an inner bag for this tote bag.
1) A support board is enable inner layer of tote bag to be rigid and firm.
2) The support board have button (type VT5 and VL) to hold the inner bag in position
3) The main support is stitching support board to both handle padding.
* Note:- this project is related to post Tote Bag # 10 (Tote bag handle).
** Note:- this project is related to post Tote Bag #10 (Tote bag side stitching)
Tips:- it best do this step (inner bag) before proceed to do the side stitching procedure. There are some procedure sequence to follow and make this tote bag more challenging.
Would recommend use paper as template model to check if the design is workable, fit the size and shape, to "anchor" and support using the two handle padding. This is one alternative or way is try it out on paper. As it is cheaper than leather if you make mistake.
After you are happy with "paper design" then open the paper template to cut on leather materials.
Sometime there is trail and error with paper template as is less expensive and easier to modify and make changes along the way
.
Do take note there is two items to take care for inner bag design.
1) Support board which is stitch to both handle padding.
2) Four button is added to support board to hold the inner bag in desire position.

Cut and create a possible model for inner bag
Choose the leather material to fit the inner bag size and shape
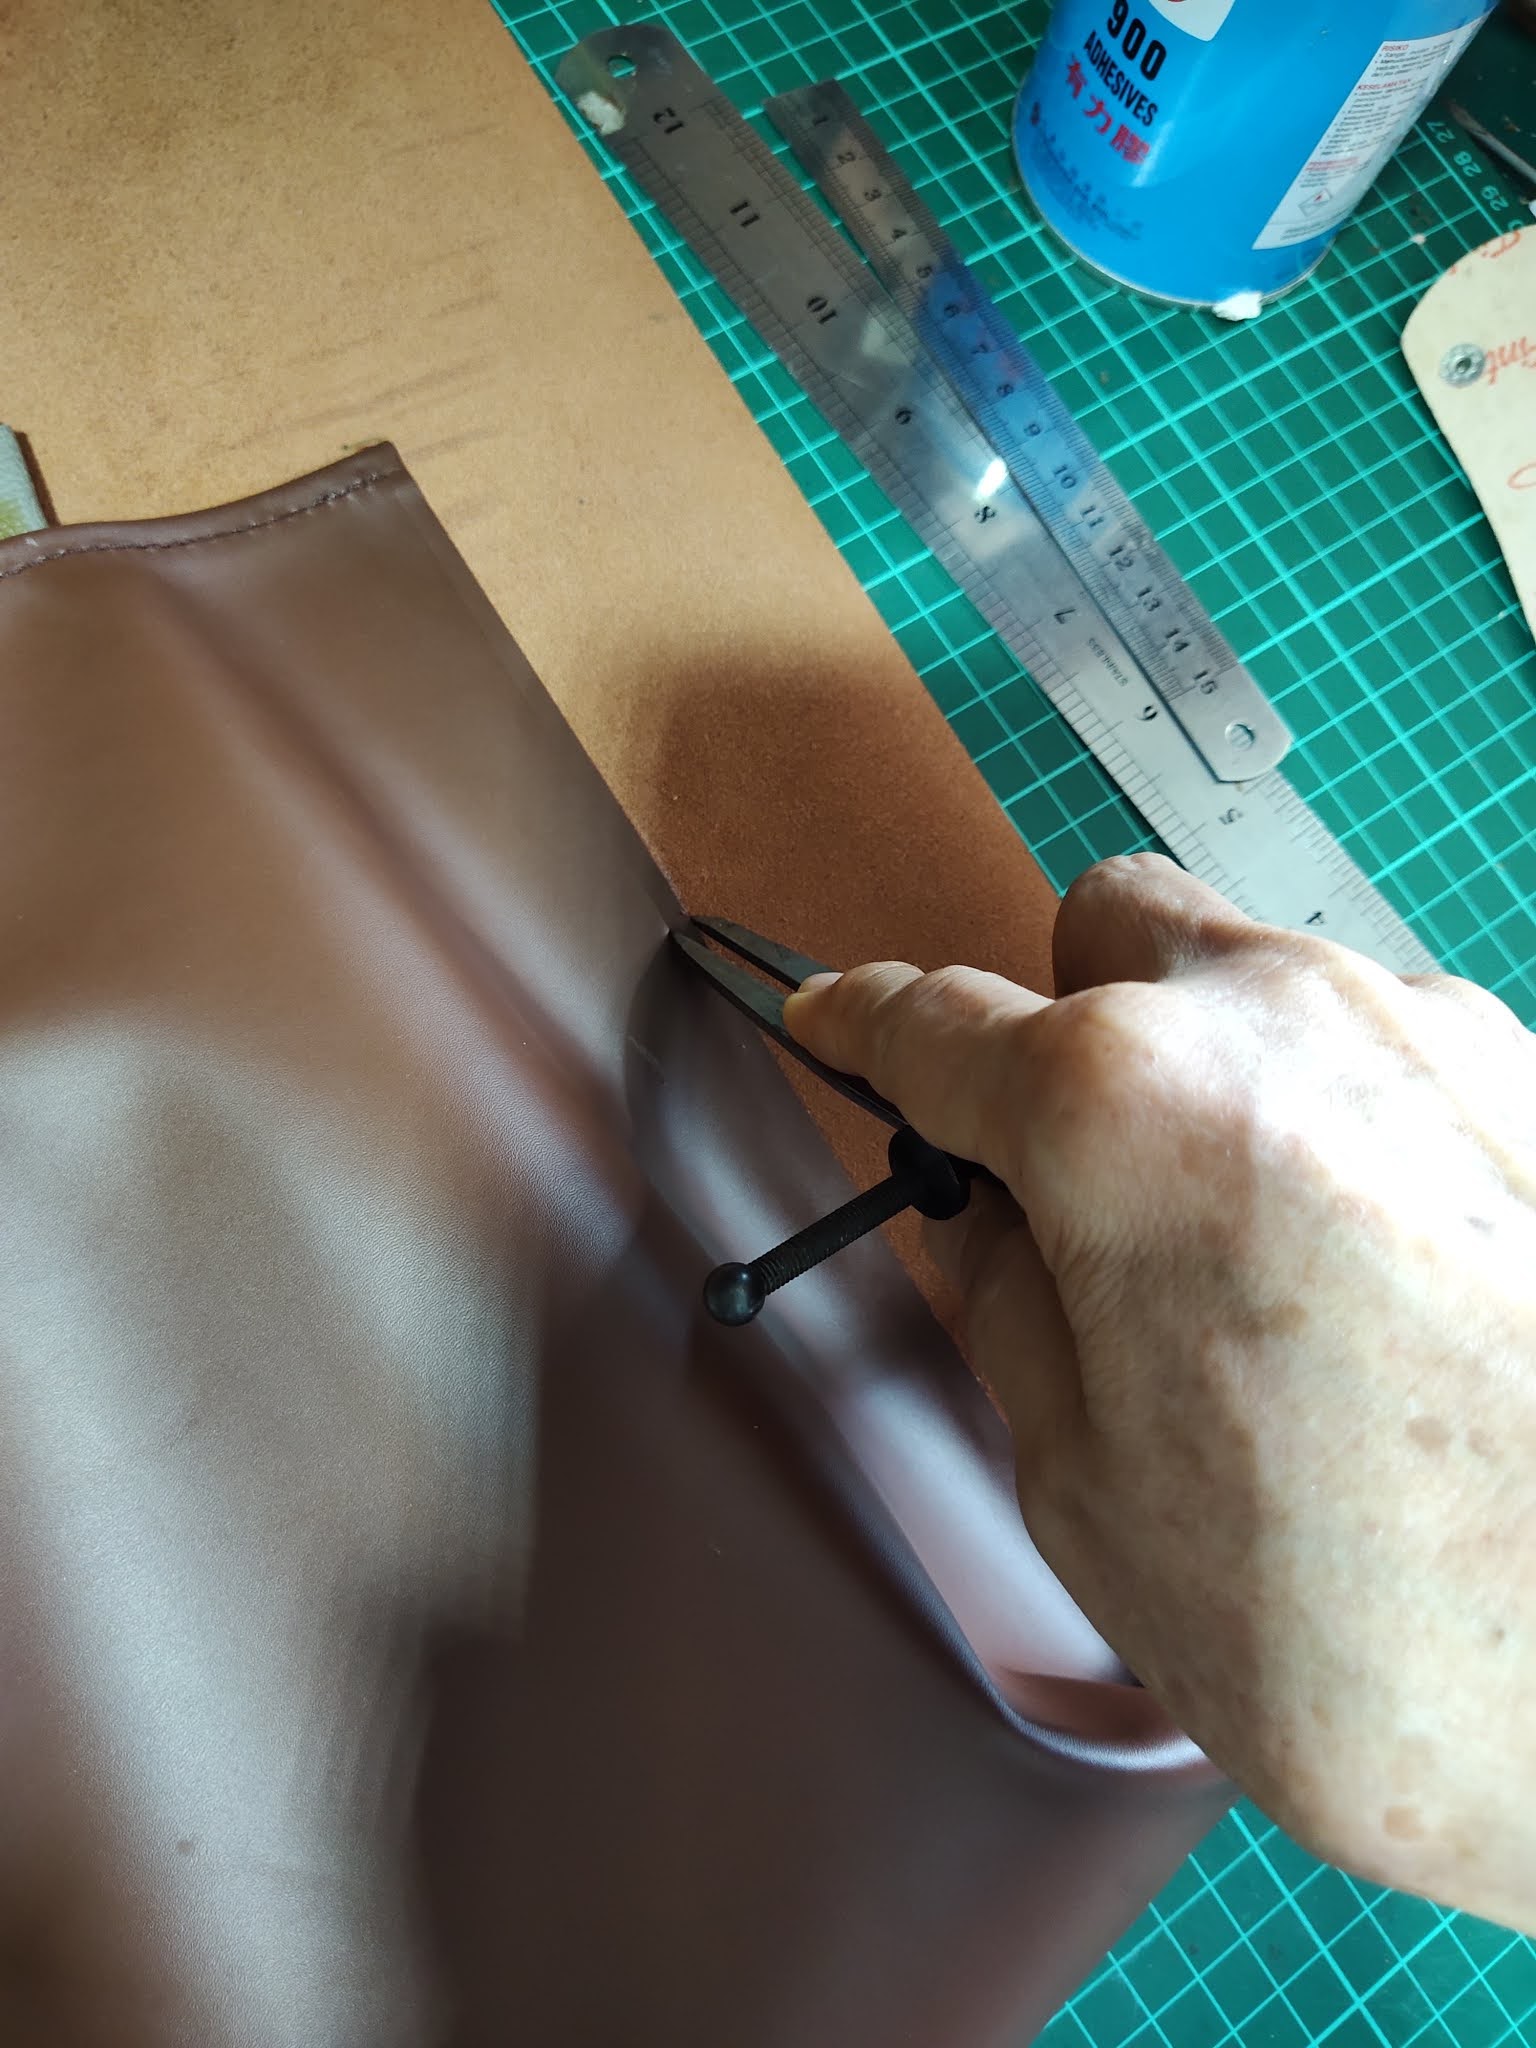
First to fold the top edge after apply glue.
The ruler is use a guide where the fold edge will match.
Clip to hold the top edge during folding and wait for glue to harden.
Tools used to punch hole along the top edge
Prepare drawing for template
Try out paper template model, after it is verified required shape and size fit the inner bag design.
Measurement for the inner bag and draw line where to glue. Prepare to glue the inner bag side and pre punch hole.
Allow time for glue to settle
Use divider to draw punch line
Punch hole along line. Then next is the stitching process.
Same apply glue for the other side of inner bag
Open up the leather to add interface support 1. the bottom layer and 2. to add interface to support for VT5 and VL button.
This is one way to provide firmness and backing to bag. It easier to add the button for use with a cardboard in place.
After alignment done to ensure all four button in correct and desired position it cover with a lining layer.
It better to a weigh to minimize movement.
Allow sufficient time for glue to cure
Use a roller to flatten the interface layer
Apply pressure with roller help to have flat surface between interface and leather.
Use fan to help to cure the glue for the bottom interface attached with a lining layer.
Use a rule to press the bottom layer edge before punch hole for stitching

Allow the glue to harden before punch hole..
= = = = = = = = = = = = = = Prepare cardboard support = = = = = =
Use template and cut card and check alignment for button match position for inner bag.
The curve part is minimize the latch magnet is not block it path.
Tools use for this process.
The paper template is where the "master" for button hole position.
Use an awl to make mark where the button will sit
tools for punch hole for button
tools and die for hand press VT5 button
Tools and die set for hand press VL button
Inside view for inner bag, while doing stitching for the inner bag side it easier if there is materials used to fill the void space.

Punch hole for inner bag bottom.As the inner bag is soft leather, to begin stitch both side you can temporary hold in place with thread and needle.
Once the the first stitch is in place you can start removing the temporary thread as you progress.
Another tips is apply a bit of glue to both surface when stitching temporary thread to both side.
Hard card board is use to support the inner bag.
Apply glue to both surface to attached, fan is use to cure glue.
Use roller to smooth out two surface for proper bonding.
It best to allow sufficient for glue to cure (about 15 minutes)
Use mallet to tap the edge for proper bonding between the two surface.
Trim the seam allowance for this support board.
Apply glue to seam allowance and fold over.
Draw line at edge in preparation for punch hole and perform stitching the edge.
Rear of cardboard apply cover for button
Apply glue to area to attached.
To attach support board to main bag, use clip to position all three parts. Then align the hole before start stitching them.
Tools use for this task. It recommend to check position and alignment before start use awl to pierce holes
Once confirm correct position use awl to mark all holes.
You notice during initial punch hole have temporary hold the parts together to make this work easier and minimize movement when punch holes.
It easier to push a needle and thread from inside outward. This way of doing stitching will be better control and easier to view.The main point is the direction of needle and thread depend on individual preference and skill which best suit them
Once this is done it easier to start other part of tote bag side stitching can proceed.
👶 End of document 👴